Outdoor Dining Room Part 1

I started a new project this week. It's something I've wanted to do for years, but every time I said something about it I got looks. You know what I'm talking about. The looks that say "you're crazy" or "you can't possibly be serious" or " that's a bad idea". Usually, I pay no attention to these subtle opinions, but it was so frequent that I started to think maybe it was a bad idea. But I could picture it so clearly in my mind that I threw caution to the wind and dove in. My contractor came over to see what I had in mind. After telling me he thought I was making a mistake, he gave me a bid. It was higher than I wanted it to be (of course) so I asked him if I could help work to cut down on the cost. I don't know why I thought it was okay to ask him that, but he graciously agreed and we began the demo on Monday morning. Hubby helped that day (his day off) and I couldn't have done it without him!

I should explain what I decided to do. In our garage, we had some built in cabinets and 2 walk in closets. You would think it was great to have all that storage space right? The problem was, the closets were poorly designed and wasted most of the space in them. I wanted to tear out this storage and build a dining room that opened up to the backyard. Now you are probably beginning to see why people thought I was making a mistake. I wondered if I was going to miss the storage, so I emptied out one of the closets a couple of months ago to see if I would, and I didn't! 

This is the walk in closet in the garage and the built in shelving.

view of the back of the house before demo began​

Day 1 Demo: closets torn out and back wall opened.

Day 2 Demo: ceiling removed and temporary supporting wall built in back.

Day 3: 14 foot ridge beam installed and ceiling joists removed.

Can you see how gorgeous the wood on the ceiling is? That was my first great surprise when we tore down the sheetrock. My second great surprise was the beautiful wood I have now that we removed the ceiling joists. I'm going to use it to make the table. More on that in a week or two...

old ceiling joists which will become the new table​

Day 4: electrical wiring run, supports built in vaulted ceiling

Day5: sheetrock installed and siding going up in dining room

I'll admit it--I'm exhausted!! That was much harder than I thought, but my contractor says that we're several days ahead of schedule because of my help, and that's good news to me. I'm so excited with the results so far! Everyone who has seen it loves it. Even my contractor has  grudgingly admitted he likes it.

view from the new dining room​

There's still a lot to be done. We need to finish the siding and electrical, build a railing, install the lighting and a ceiling fan, refinish the floors and paint. Week 2 will be full, but I'm looking forward to it.

I'll keep you posted...

Lynn

Wheelbarrow Planting

I have this old wheelbarrow that I haven't used in years, just taking up space in my gardening shed. Today I decided to do something with it. ​

The first thing I decided was where I was going to put it. I didn't want to move it after I planted it and I needed to know how much sun it would be getting before I decided on the plants I was going to use. Th​en I used a big nail to make some drainage holes in the bottom. I covered the holes with a few small rocks so that the water would drain out and the holes wouldn't get plugged with the soil.

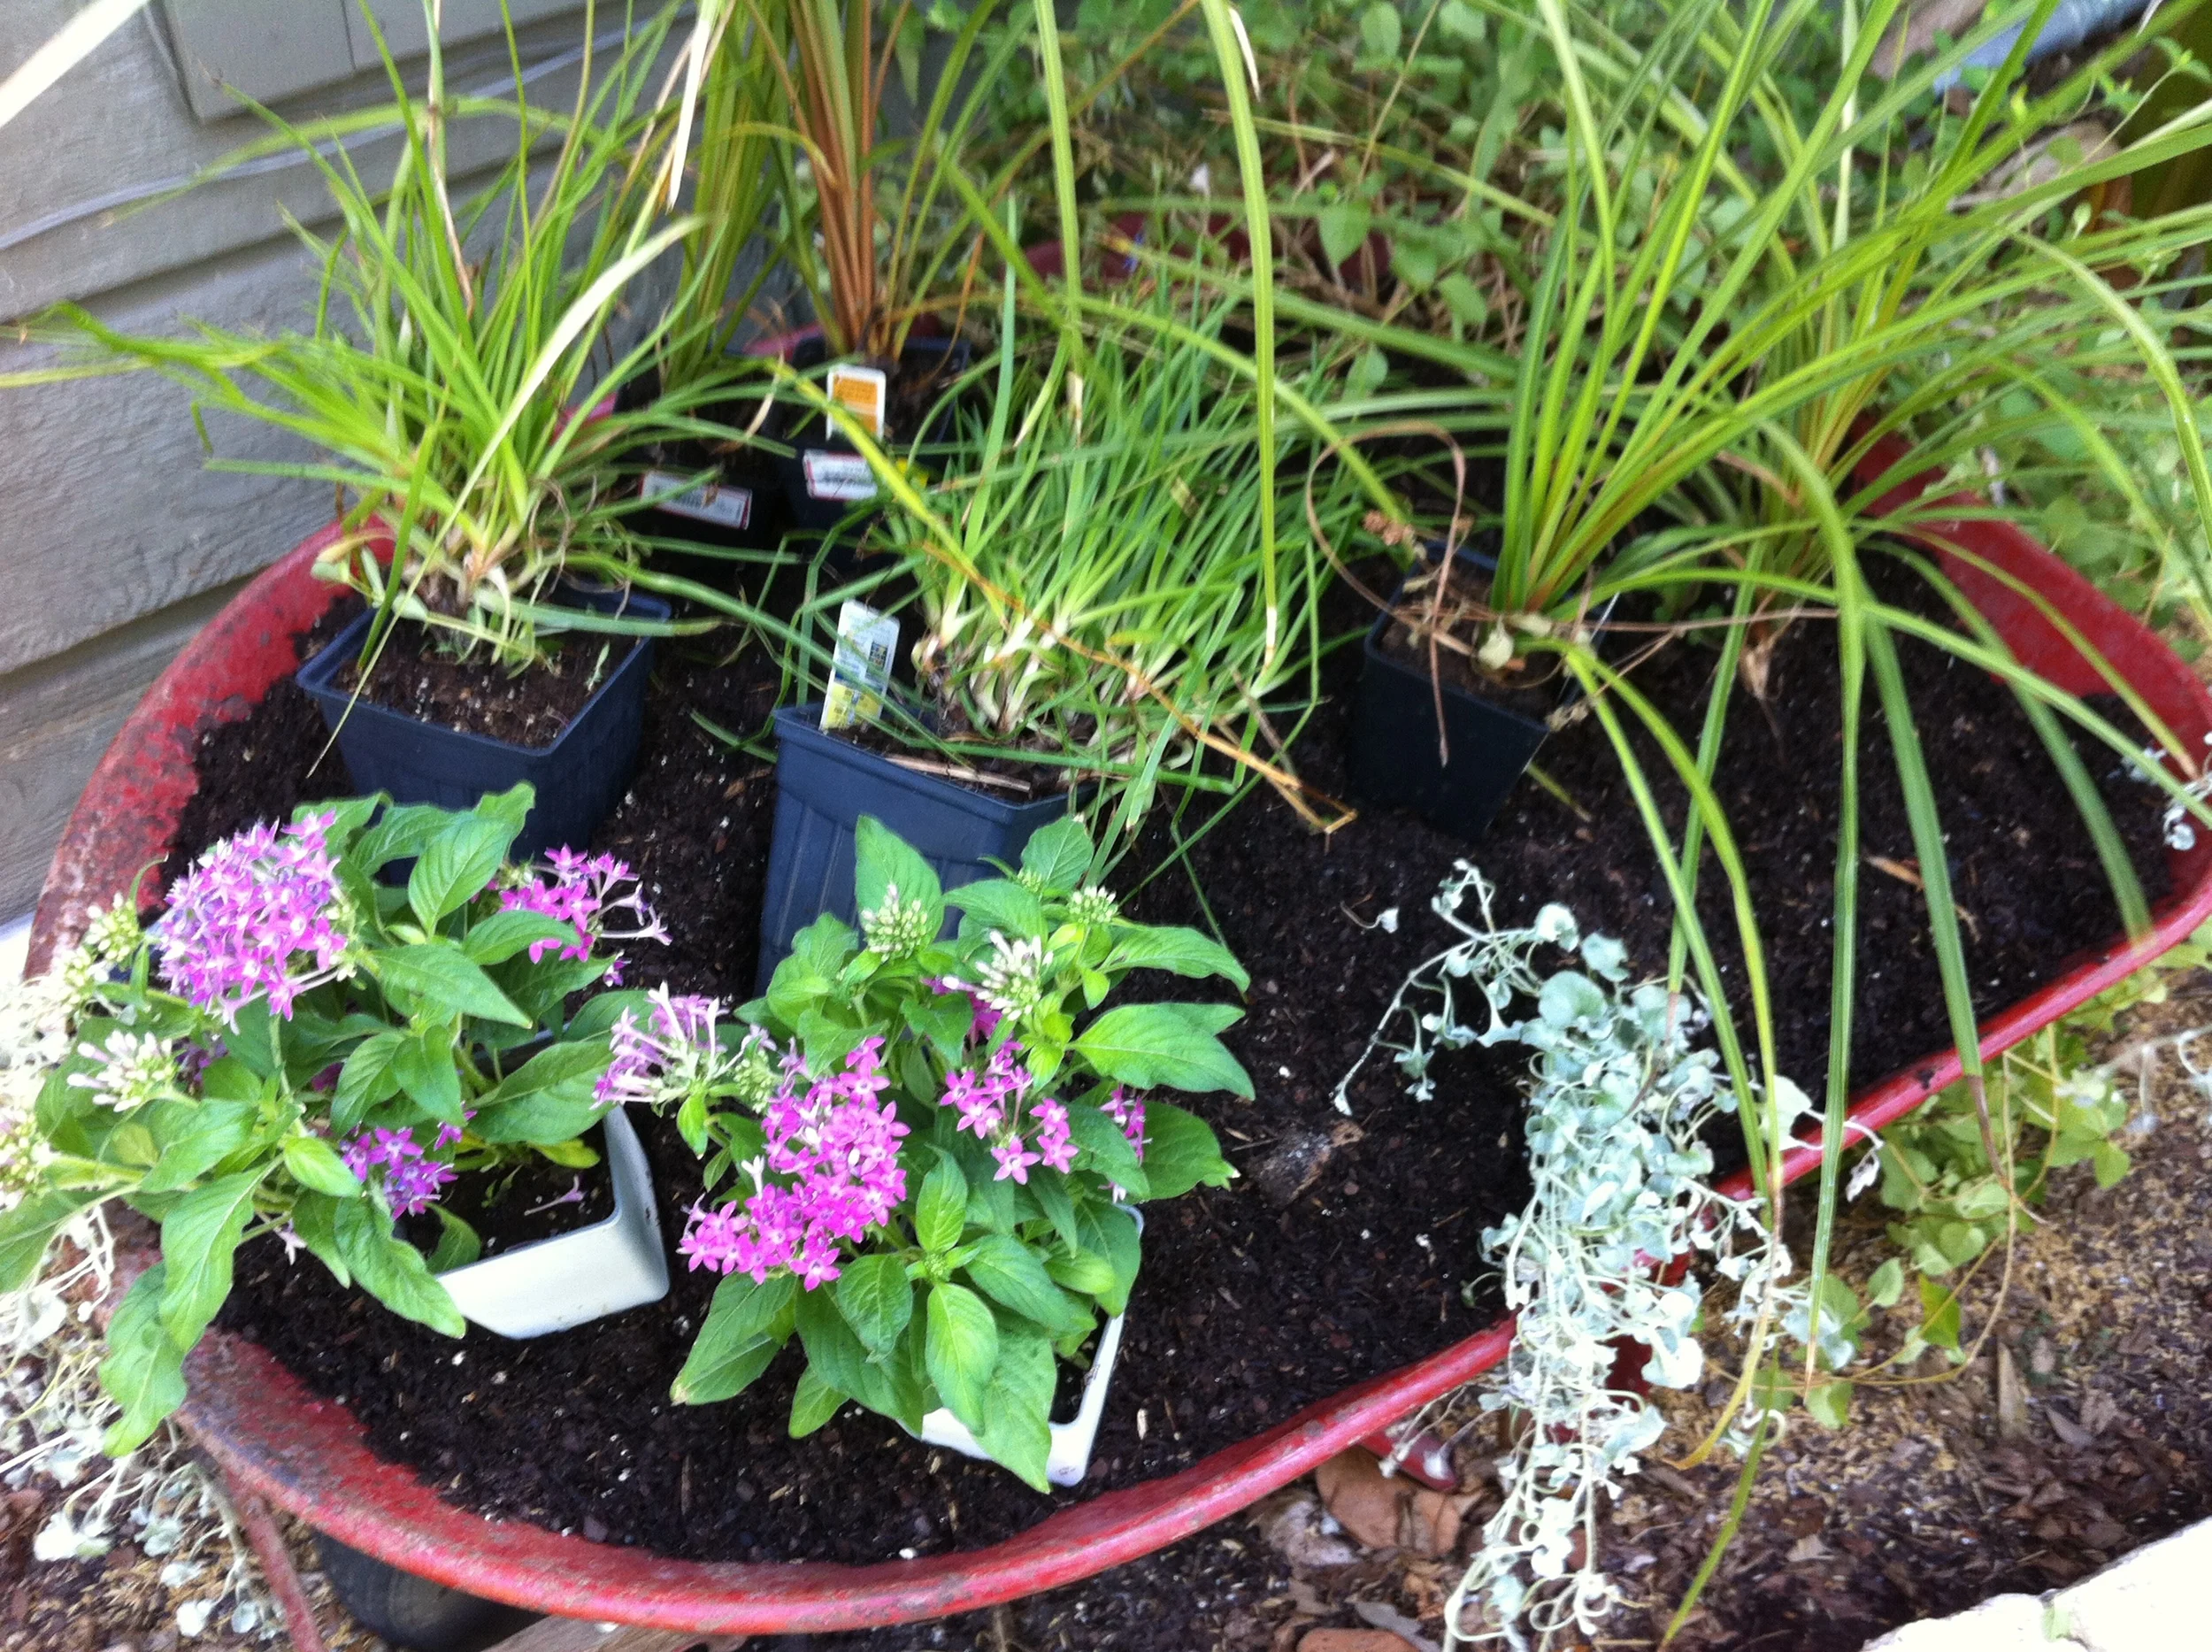
Next, I added potting soil. One 2 cubic foot bag filled it perfectly. I arranged the plants the way I thought they looked best, then I planted them. Voila! Now my wheelbarrow will be used everyday.​

In this planting I thought it looked best to have the tallest plants about 3/4ths of the way back​, 2 different varieties of medium height plants in front of that (orange bulbine and purple pentas), and finally trailing plants in the very front and coming off the side. I also planted some trailing Lantana behind the tallest plants to fill in the back and to have something hanging down back there too. Whenever I choose plants, the first thing I decide is the color combination I want to use. In this case it's purple and orange with green. I love the vibrancy of this combo. Then I find plants suitable for the location in the colors I like. I make sure that the sizes vary as well as the textures because that makes it much more interesting to look at. It looks good now, but in a few weeks when the plants start filling in and blooming, it will look even better. I'll try to remember to post another picture then.

​Lynn

A New Deck

We had put it off as long as we could. We never used it, but now it was getting dangerous. We had to ​replace the deck. It was never really a deck anyway,  just a walkway that led to the backyard stairs. It didn't make sense to replace it with what we already had, so we decided to replace it with something we would actually use. This was not a job I was going to tackle, so I called my contractor and gave him my design plans.

The demo of the old deck.​

The shape of the new extension to the old walkway. The old walkway came straight out from the door. The extension is everywhere you can see the new wood. ​

The finished deck.​

Furnished and accessorized!​

My best design advice is to think about how you will actually use the space you are designing. I really wanted an outdoor dining area, but the space it was going to take up​ meant that we wouldn't have as much seating area. We knew that most of the time we spent out there would be just relaxing, not eating, so the dining area was scratched from our list. The other important factor to consider is what it will look like from the inside of the house as well as from the outside. You will notice that I kept a portion of the walkway that leads from the door. If we had expanded that area we would have had plenty of room for the dining area I wanted, but the view out of my kitchen window would have been blocked. I would much rather look out at my beautiful yard than at a deck. 

View from my kitchen window and from the playroom.​

One of the best design decisions I made was to use bull netting for the railings. It is almost invisible and it's surprising how much of the view a wood railing blocks. We are thrilled with the results and have used it more in the past 2 months than we ever used the walkway in the previous 12 years!

​Lynn