4th of July Pillows

Where has the summer gone? I looked at my calendar today and realized it's almost July, so I decided to make a few pillows for the porch. A quick trip for supplies and I was ready to start. I used the pillow forms that I already had and some light burlap that I spray painted to make a Texas flag and a US flag. I think it all looks really cute. Here's what I used: 

  • 2 16" x 24" pillow inserts
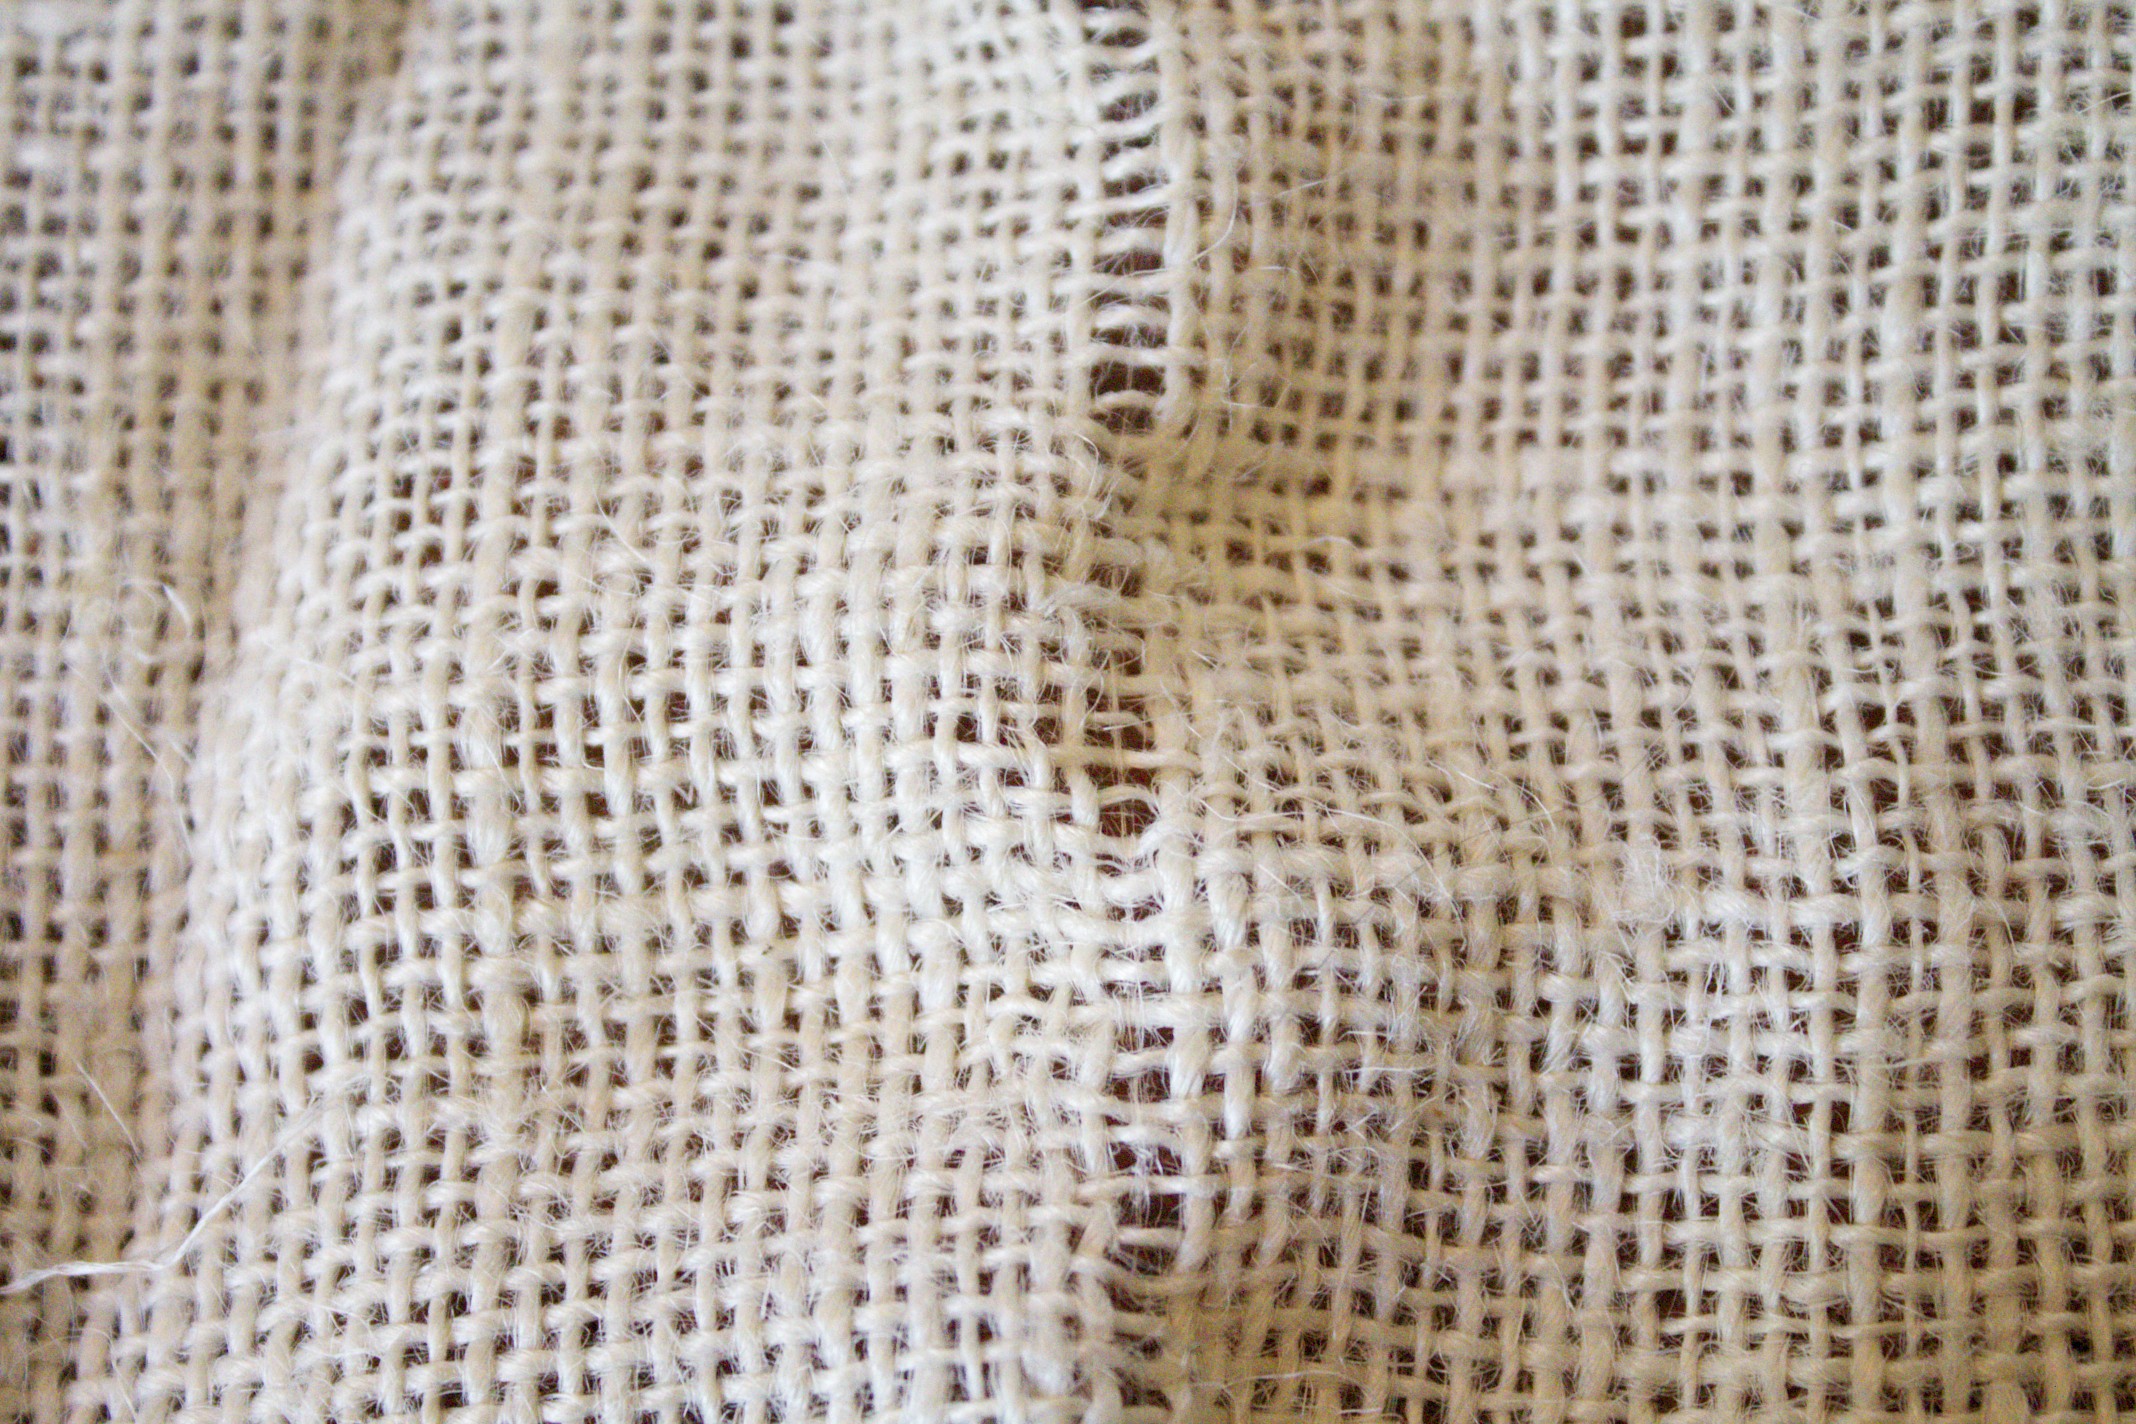
  • light (off-white) burlap
  • red and blue spray paint
  • painter's tape
  • star decals

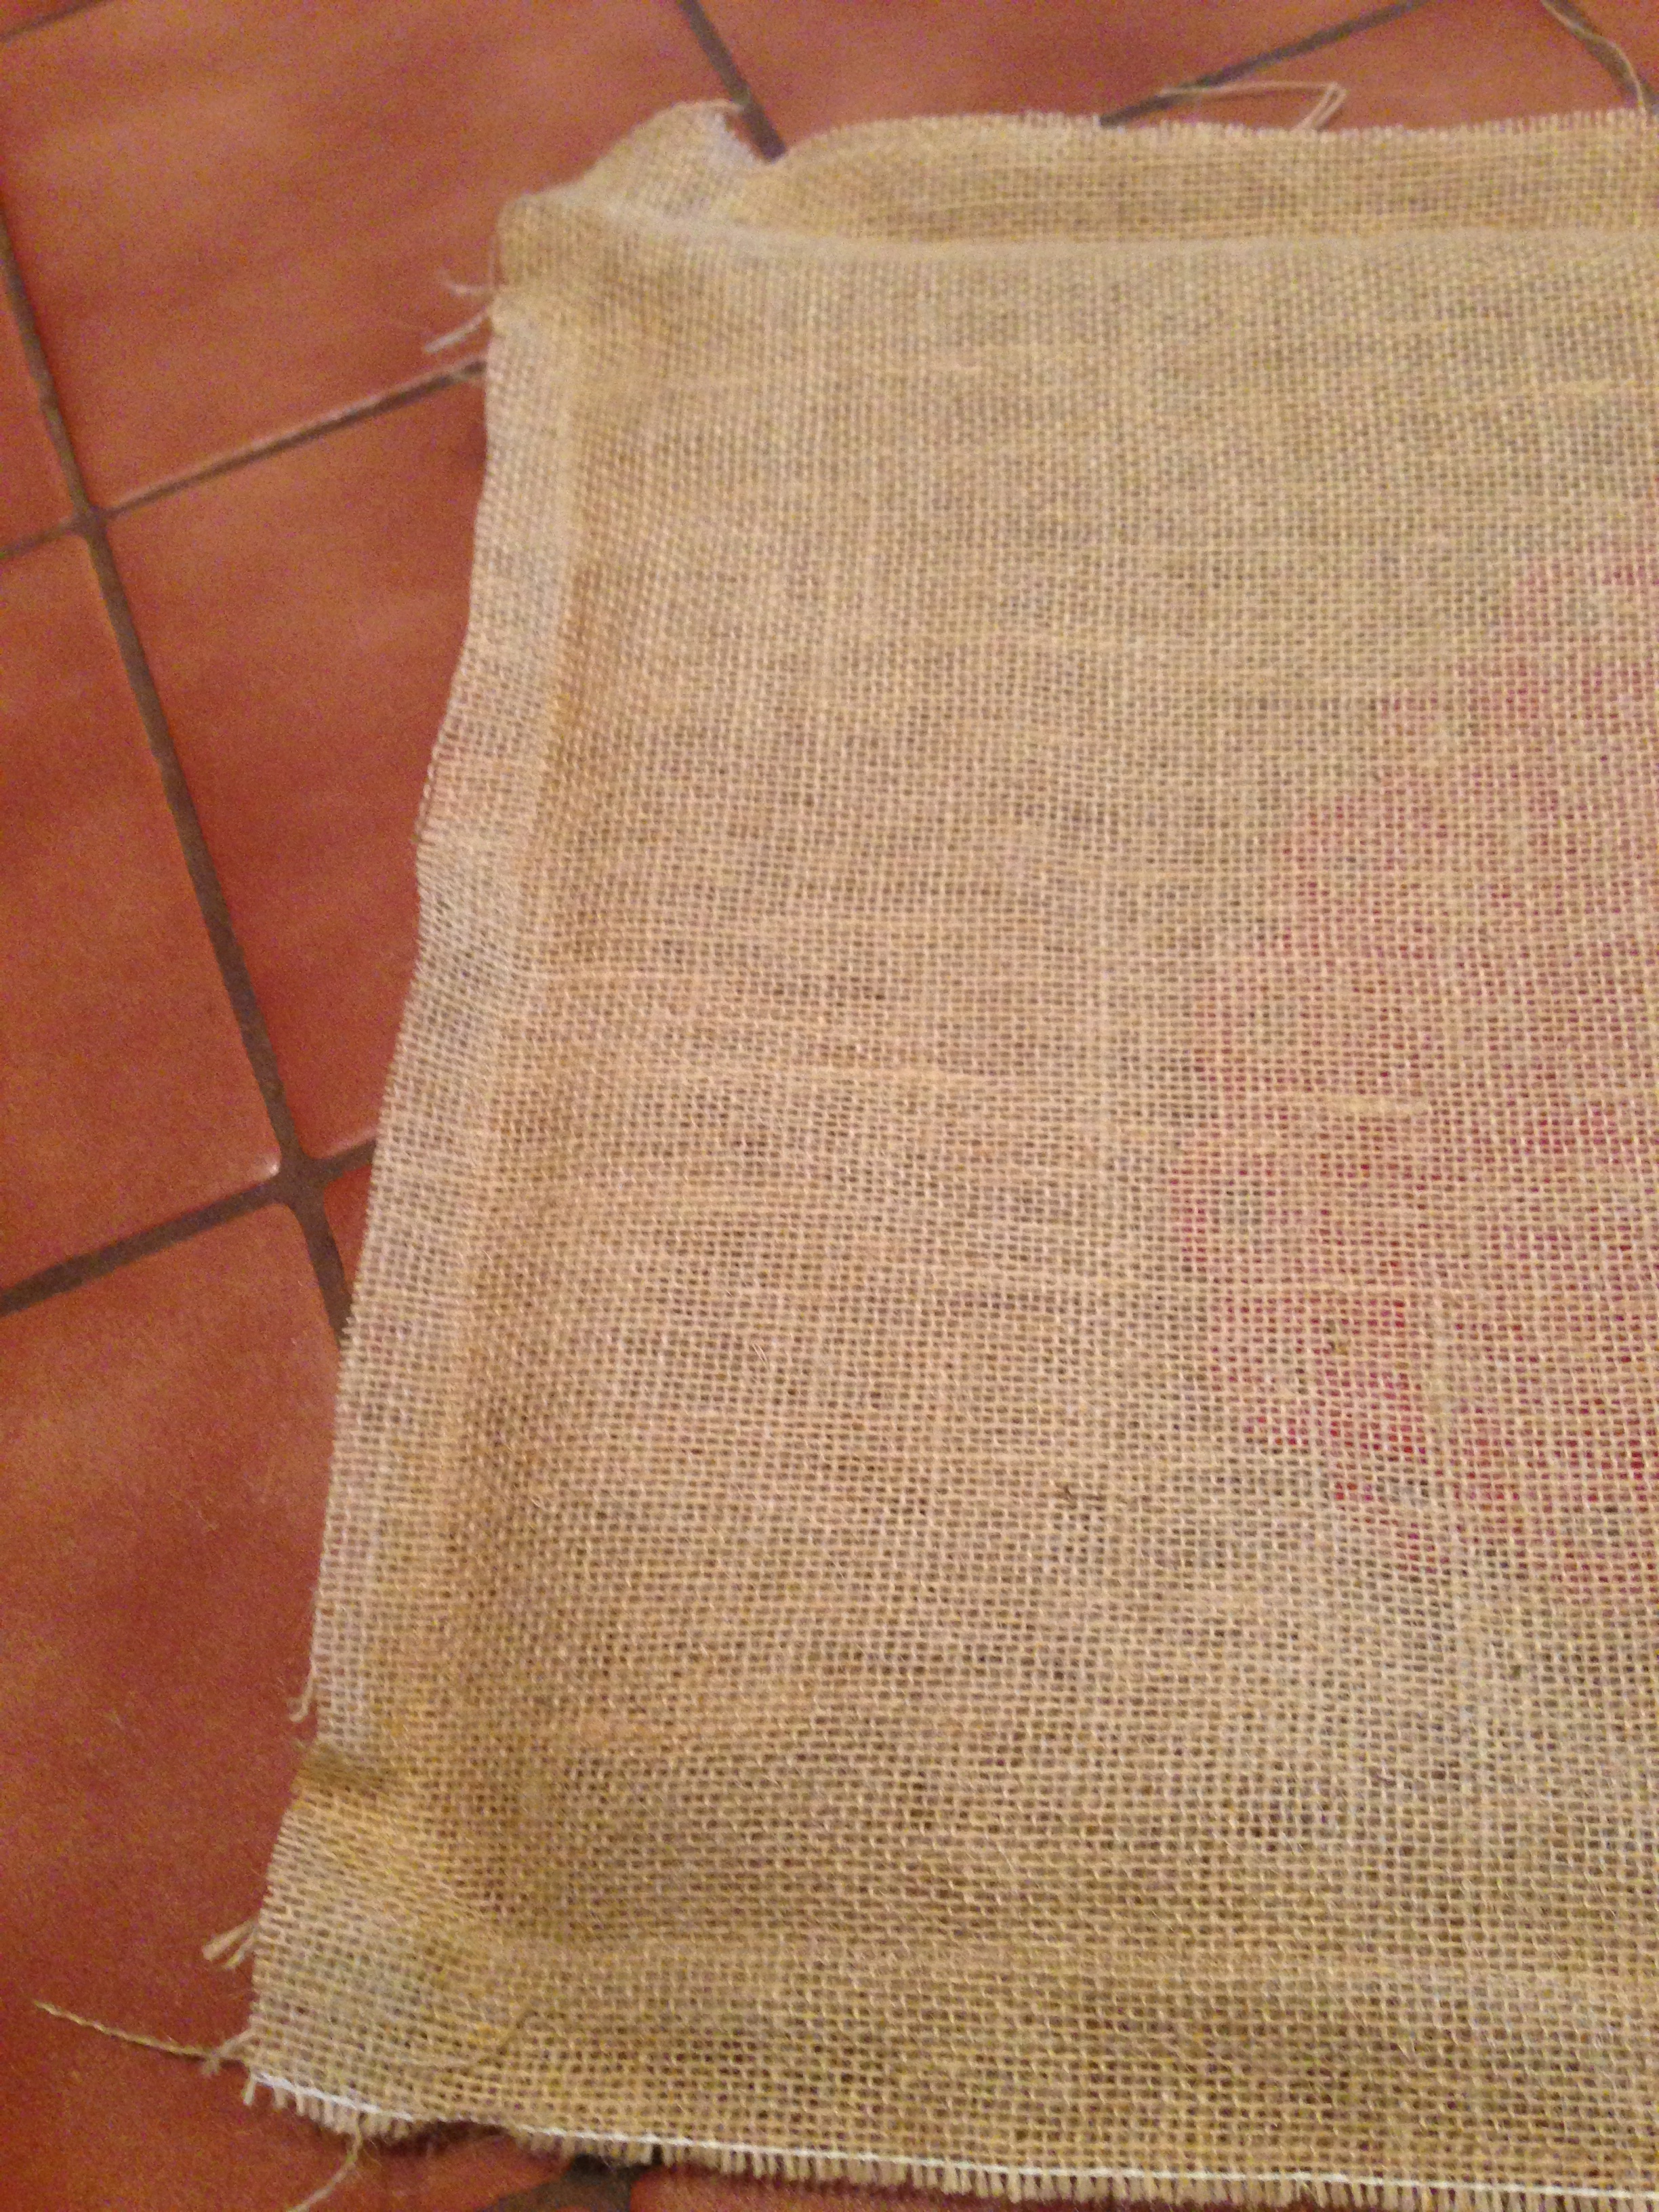
The first thing I did wash wash my burlap. This is not something you have to do, but I hate the smell of new burlap and I also like to soften it up a bit. Nothing tricky here, just throw it in the wash and use your regular detergent and run it through a wash cycle. Don't wash anything else with the burlap because it will end up covered in tiny fibers. Don't ask me how I know this... I actually ran this burlap through the wash twice then dried it in the dryer. Again, make sure it's the only thing you are drying and be certain to clean out your filter afterwards. Then take it outside and shake it for a while. You'll never get all the loose fibers off, but you will notice that you can get a lot of them.   

The next thing I did was even out my fabric. Burlap is such a loosely woven fabric that even when you try to cut it straight across, you rarely can. To do this, look at the cut end of the fabric for the first thread that runs completely from one side to the other. What you will notice is that there will be lots of varying lengths of threads, depending on how crooked the fabric has been cut. Once you find the full length thread, gently pull it until it comes completely out of the fabric. This will leave a space that is now your cutting guide. Now cut off the fabric below that space and you'll have a straight cut going with the grain of the fabric. I did this part outside on my deck to make cleanup a little easier. Repeat with the other end. Now you're ready to sew. 

Now it's time to cut the fabric for the pillows. I added 1 inch to each side of my fabric so that I had plenty of room for seams. The next step is to tape off the design you want. I first tapes my seam allowance off so that I would be able to easily see where I would be sewing. Then I added stripes and the star decals. Obviously the flags I painted are symbolic rather than accurate, but you can use your imagination and design your flag however you choose.  

After the paint dries, peel off the tape to reveal your design. This is the fun part! I had a little bit of overspray that bummed me out at first, but then i decided that it actually made it a little more charming. Isn't that great that I can believe something like that? 

Now you have the front halves of your pillows and it's time to sew. I decided to go ahead and put zippers in mine so that I can change them out easily. 

That's it!! Two cute pillows to celebrate the 4th of July. It's not too late for you to make yourself some. Good luck!

I'll keep you posted...

Lynn

Valentine's Day Pillows

I know it's only one day, but it's a day all about love! I wanted just a few pillows for the porch and breakfast room, but I couldn't find any. So I decided to make some. They're so simple and quick to make, and there is very little sewing involved. If you can sew in a straight line, you can make these. Here's what you'll need: 

  • pillow forms of your choice
  • burlap
  • red felt or pre-cut felt hearts
  • glue gun
  • snaps
  • buttons

Start by cutting 2 pieces of burlap, 2" wider than your pillow form and 4" longer. Now sew them together on 3 sides, leaving 1 end open. Since I am using burlap, there is no wrong side to the fabric. If you are using a printed fabric, you will sew the 3 sides with the wrong (unprinted) side facing out. You have just made a very basic pillow case. Now turn the pillowcase right side out.

The pillow case you have should be the right size for the pillow form to fit into it with about 3"-4" left open on one end. Now it's up to you to decide how you want to decorate. I centered a big red heart on one of my pillows, and a straight line of little hearts across the center of my other pillow. Since these pillows are only going to be used for a week or so, I chose to glue the hearts on with my glue gun. I would not recommend doing this to a pillow that will get a lot of use. If you do glue it, be sure to put a piece of cardboard between the 2 layers before you start so that you don't glue the 2 sides of the pillow to each other. Also, if you are centering the design, center it from where the pillow will be closed, not from the entire length. 

After you've finished attaching your decoration, insert the pillow form so that you can decide where to put the snaps to keep it closed. Mark the spot for the snap, remove the pillow form, and hand stitch the snaps into place. Now you can hand sew a button on the outside of the pillow to cover the snap. Insert the pillow form again and snap the snap and you're done! 

You might be able to tell that I pulled some of the threads from the end to make a fringe. Super easy to do with burlap and I think it makes it look a little more finished. Go ahead and give it a try. The materials are very inexpensive, and it's a cute way to bring in a little Valentine cheer.

I'll keep you posted...

Lynn

'Tis The Season!!!

It's my favorite time of the year and I'm excited to say that all the decorating is done. I know that I usually say less is better, but that is not my approach at Christmas. I fill every nook and cranny with decorations collected over my lifetime. Here's a little sample of what my home looks like this year:

Let's start with the tree. This year it's all white and gold with a "found in nature" theme. Simple and beautiful. There is a white burlap tree skirt, cotton boles, pine cones, icy branches, and snowflakes of different sizes and textures.

Santa is everywhere. My favorite old ones are in a vignette on the bar.

My "Nana" tree has a place of honor on a table in the playroom. Every ornament and the tree skirt were hand made by my grandmother, Nana.

Garland adorns bannisters, light fixtures, and the mantle and Christmas pillows are scattered in every room.

I have dozens of beautiful glass ornaments that I decided not to put on the tree this year. I wanted to still have them out, so I put them in 3 bell jars on a table and it's my new favorite thing. Even though you can't see each ornament, the overall look is wonderful.

The bookcase has been transformed by the snow village.

And most importantly of all, the nativity scenes remind me why we really celebrate this time of the year.

Merry Christmas!

I'll keep you posted...

Lynn