Succulents

I'm in love with succulents! Having said that, I must admit that I'm just learning about these funky plants that are so perfect for this hot, dry climate. I found an old wooden toolbox at an antique store that I just knew would be cute with plants in it. That was back in April, right about the time I last posted anything on this blog...

Since then I've been busy. Two wonderful weeks in Ireland followed by two fun weeks of babysitting my grandson and lots of little stuff in between. But I'm back! I've got lots of ideas brewing in my head, beginning with the toolbox and some succulents.

Today I was in a local big box store and saw some succulents that were reasonably priced. That's one thing i've noticed about my new favorite plants--they're not cheap! I bought a couple of flats and headed home.

Here's where I can tell I'm out of it. I didn't take any before & during pictures of this project. I know, right? The good news is you don't need them. All you need to do is find a cute container and some plants and start planting. 

Since I found these plants on sale, I only spent $32. The toolbox (with some old tools in it that I gave to my daughter) was only $35. So for about $60 I ended up with a gorgeous planter that I will be able to enjoy for ages.

Here are the few pictures I took.

Don't you love it?

I'll keep you posted...

Lynn

Garden Gate Updated

I have always loved the idea of a secret garden. You know, when you get just a glimpse of a beautiful, tranquil spot and it makes you want to see the whole thing. ​I have 2 gates that lead to my backyard that I've been dreaming of adding some kind of window to, to allow a peek into my garden. I found some wrought iron pieces that I decided would be great inserts.

There are 3 of them and they are the same design, but the years have left them a bit rusted and bent. Just my style. The gate that I decided to rework looked like this before I started;​

The first thing I did was to remove the diagonal 2x4 from the top section of the door. Then I held the piece of wrought iron in position and traced around it with a pencil. 

Using my jigsaw, I cut out the pattern I had traced.​

The last step was to put the wrought iron in the cut out and secure it. My original idea was to nail a few wood strips on either side to hold it in place, but I didn't like the way that looked. I ended up using liquid nails. That is just really strong construction glue that you apply with a caulk gun.​ It worked! I'm thrilled with the end result.

FYI: I was able to do this because this gate still has plenty of support with just the bottom diagonal in place, because it was divided into 2 sections. My other gate is built differently and would fall apart if I removed the diagonal because there is just 1 diagonal that runs the full height of the gate. That will be another project... Make sure your gate will still be structurally sound before you cut a hole in it. 

This project surprised me by how easy it was to completely change the look of my gate. I took me 1 hour and 10 minutes from beginning to end. Really! ​

I'll keep you posted...​

Lynn

Armoire to Bar

Our bar used to consist of a narrow, bottom kitchen cabinet. That meant if you wanted a drink, you would have to sit on the floor and pull everything out until you reached what you wanted. Not very convenient. I have a beautiful antique armoire in the dining room that I wasn't really using. It had a few odds and ends stored in it, but that was about it. So I decide it was time to repurpose it to make it the bar. Let me show you what I did.

First, I took everything out of the armoire.

I went to my local restaurant supply store and bought some wine glass holders to mount at the top. They were brass, which is not my favorite, so I spray painted them black. I used paint that was made for metal and I made sure I sprayed the mounting screws as well. I just poked each one into a box so that they would stand up and then I sprayed them. When everything was dry, I hung them in the top of the armoire. Each rack hold 4 glasses and the armoire holds 5 racks on each side. Plenty of storage!

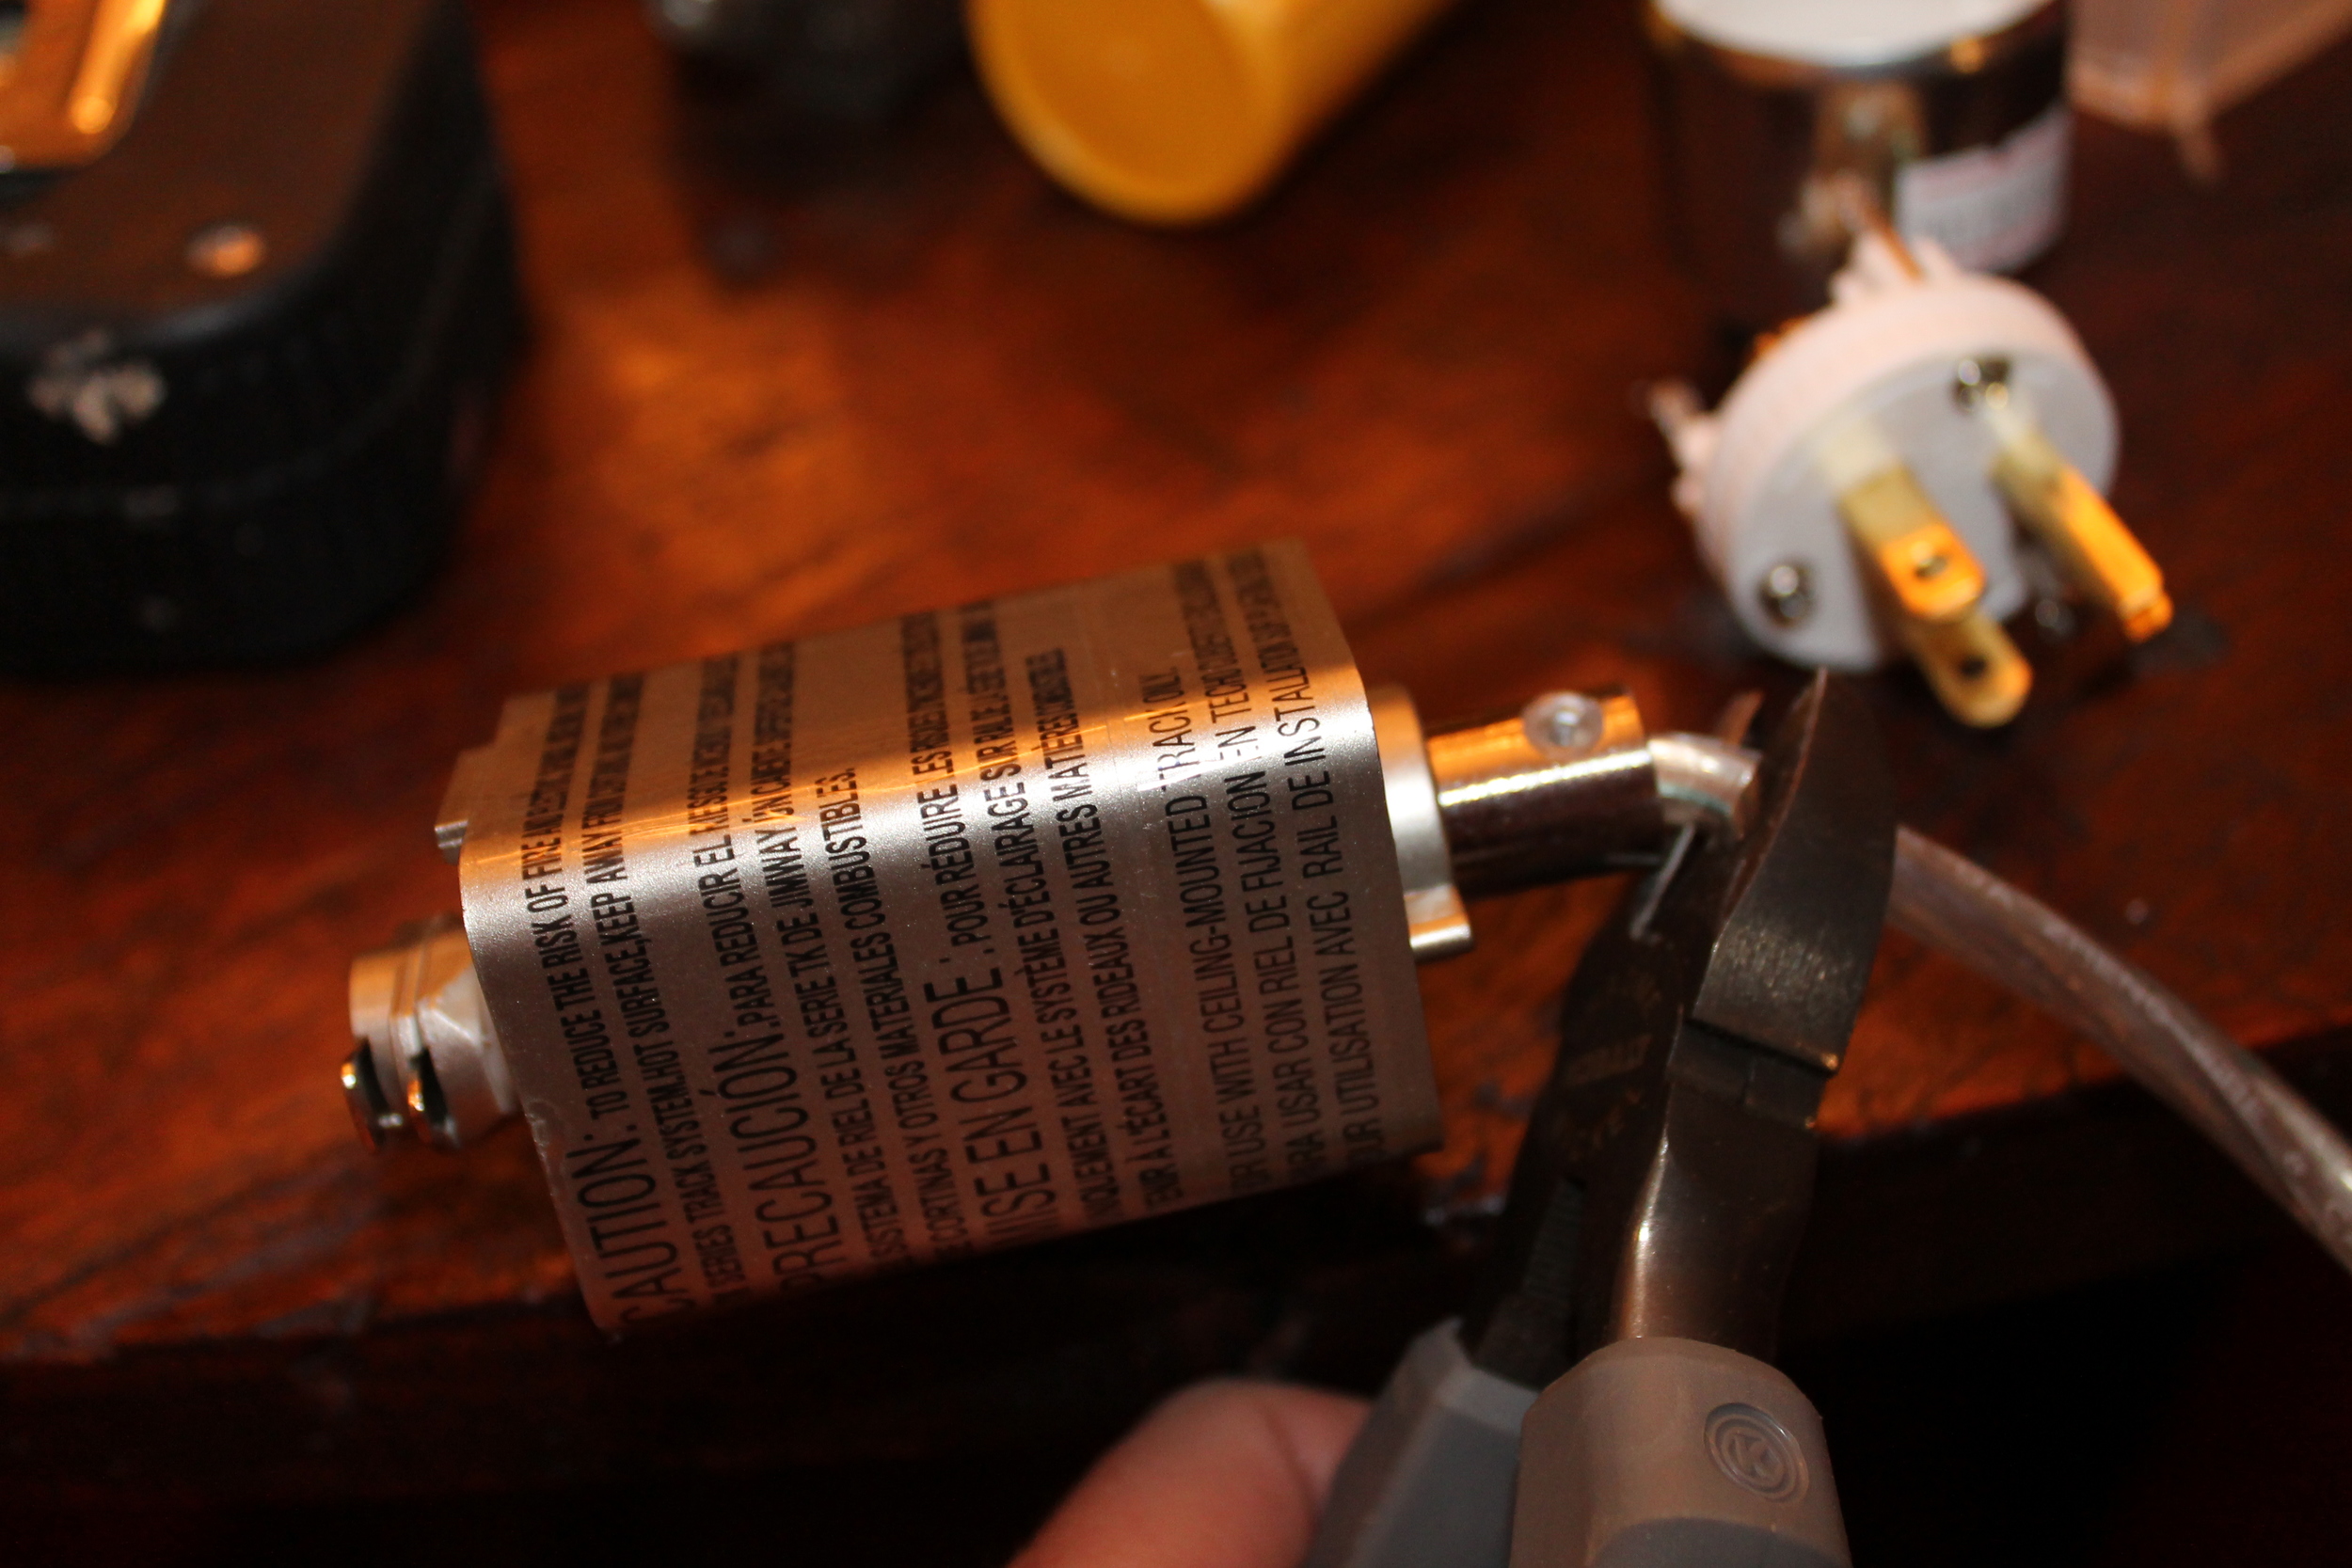
I knew I was going to want some light inside. After looking at my options, I decided a pendant for each side was the way to go. I needed something small, so I ended up getting fixtures that were supposed to hook onto track lighting. I cut off the end that hooked to the track, and wired both fixtures together to one plug. Now they will turn on at the same time. This was easier than I thought it would be.

The left side is where I'm going to store the liquor, but I wanted to be able to see what was in the back. I bought one of those inexpensive plastic pieces meant for the pantry. It has three graduated steps and expands to fit the width of my cabinet. It was white, so I sprayed it black with paint made for plastic.

The right side is going to be the serving side, so it needed a counter. It stands 36" from the floor to make it countertop height. That left a space under it for storage. The drawers are perfect for koozies, napkins, extra glasses and other assorted bar goodies. I also added a mirror to the back to bring in a little more light and reflection from the room.

I'm really pleased with the way this project turned out. When the armoire is closed which is 90% of the time, it just looks like a pretty piece of furniture, but open it up, and it becomes a really nice functional bar. You may not have a big armoire to repurpose, but many different things can be used as a bar. Just look at what you have with an eye for a different function. You too may have the perfect piece for a bar.

I'll keep you posted,

Lynn

armoire to bar

I'll keep you posted...

Lynn