Valentine's Day Decor

I've said before that I'm more of a seasonal decorator than a holiday decorator, but how can I let a holiday that celebrates love go by without some sort of acknowledgement? I can't. I stay away from cupids and "Happy Valentine's Day" signs, and just bring in a few things to set the tone. 

A silver basket filled with glittering hearts on a red table runner.

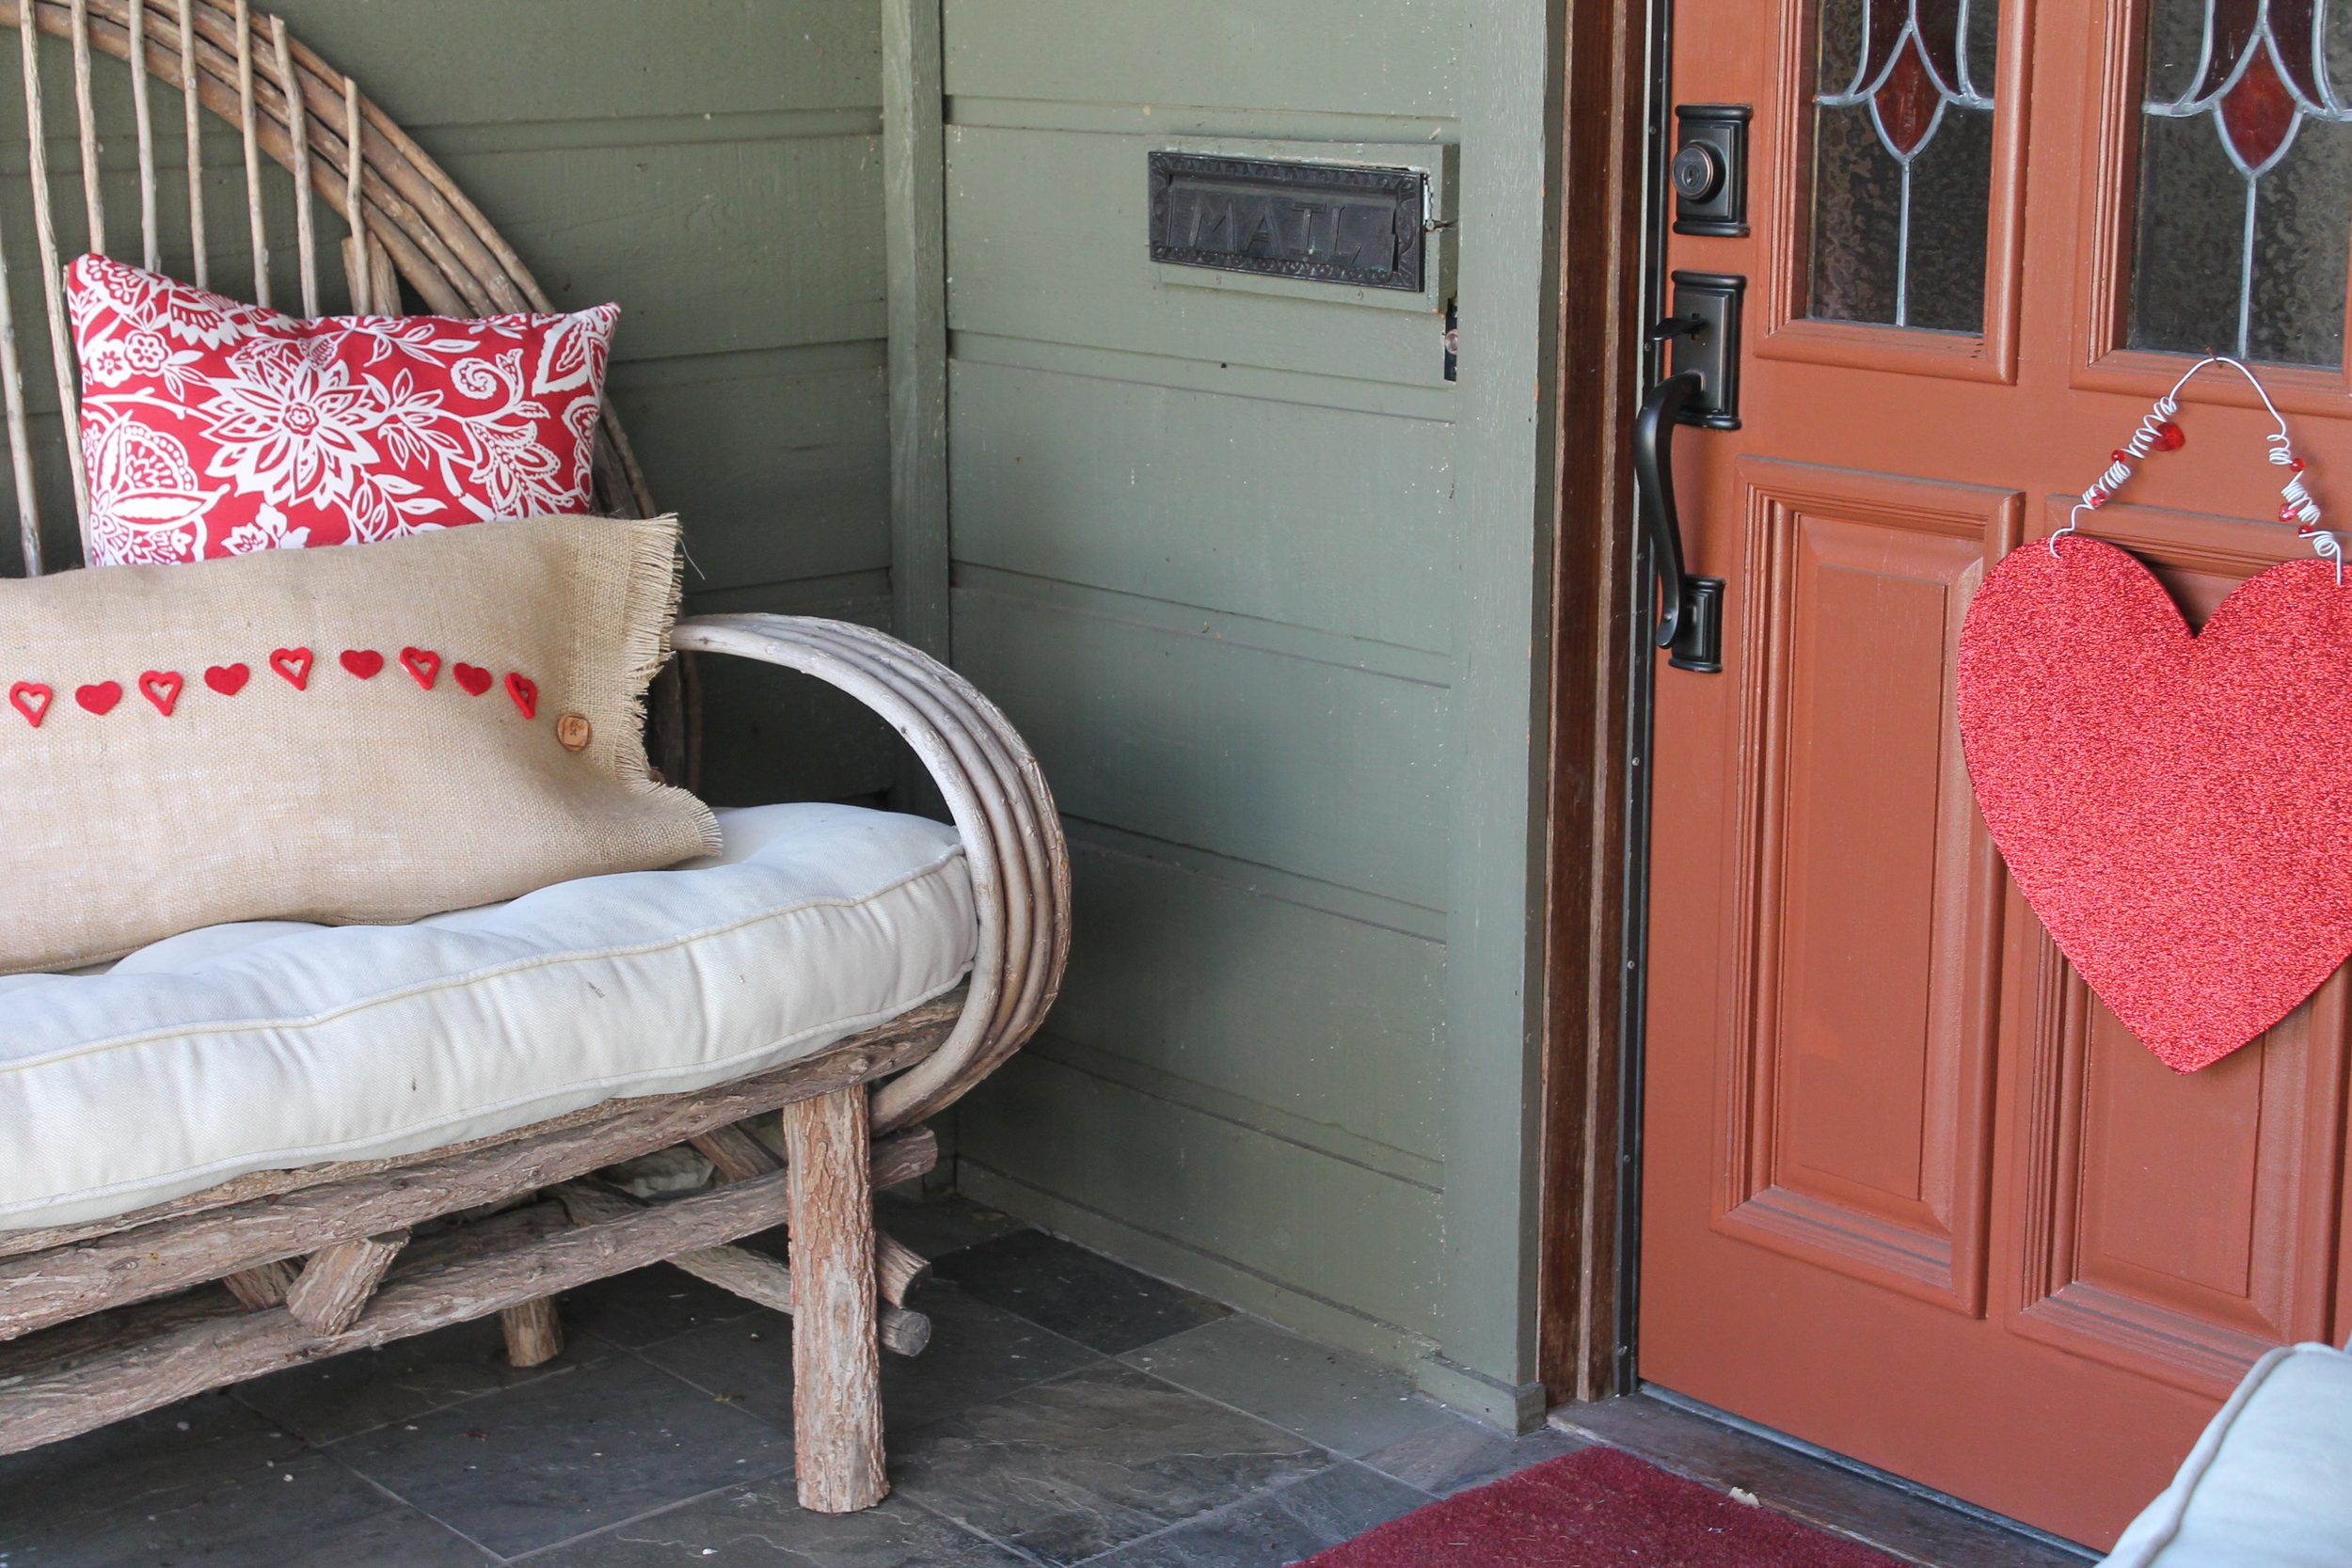
The front porch gets a few pillows and a heart for the door.

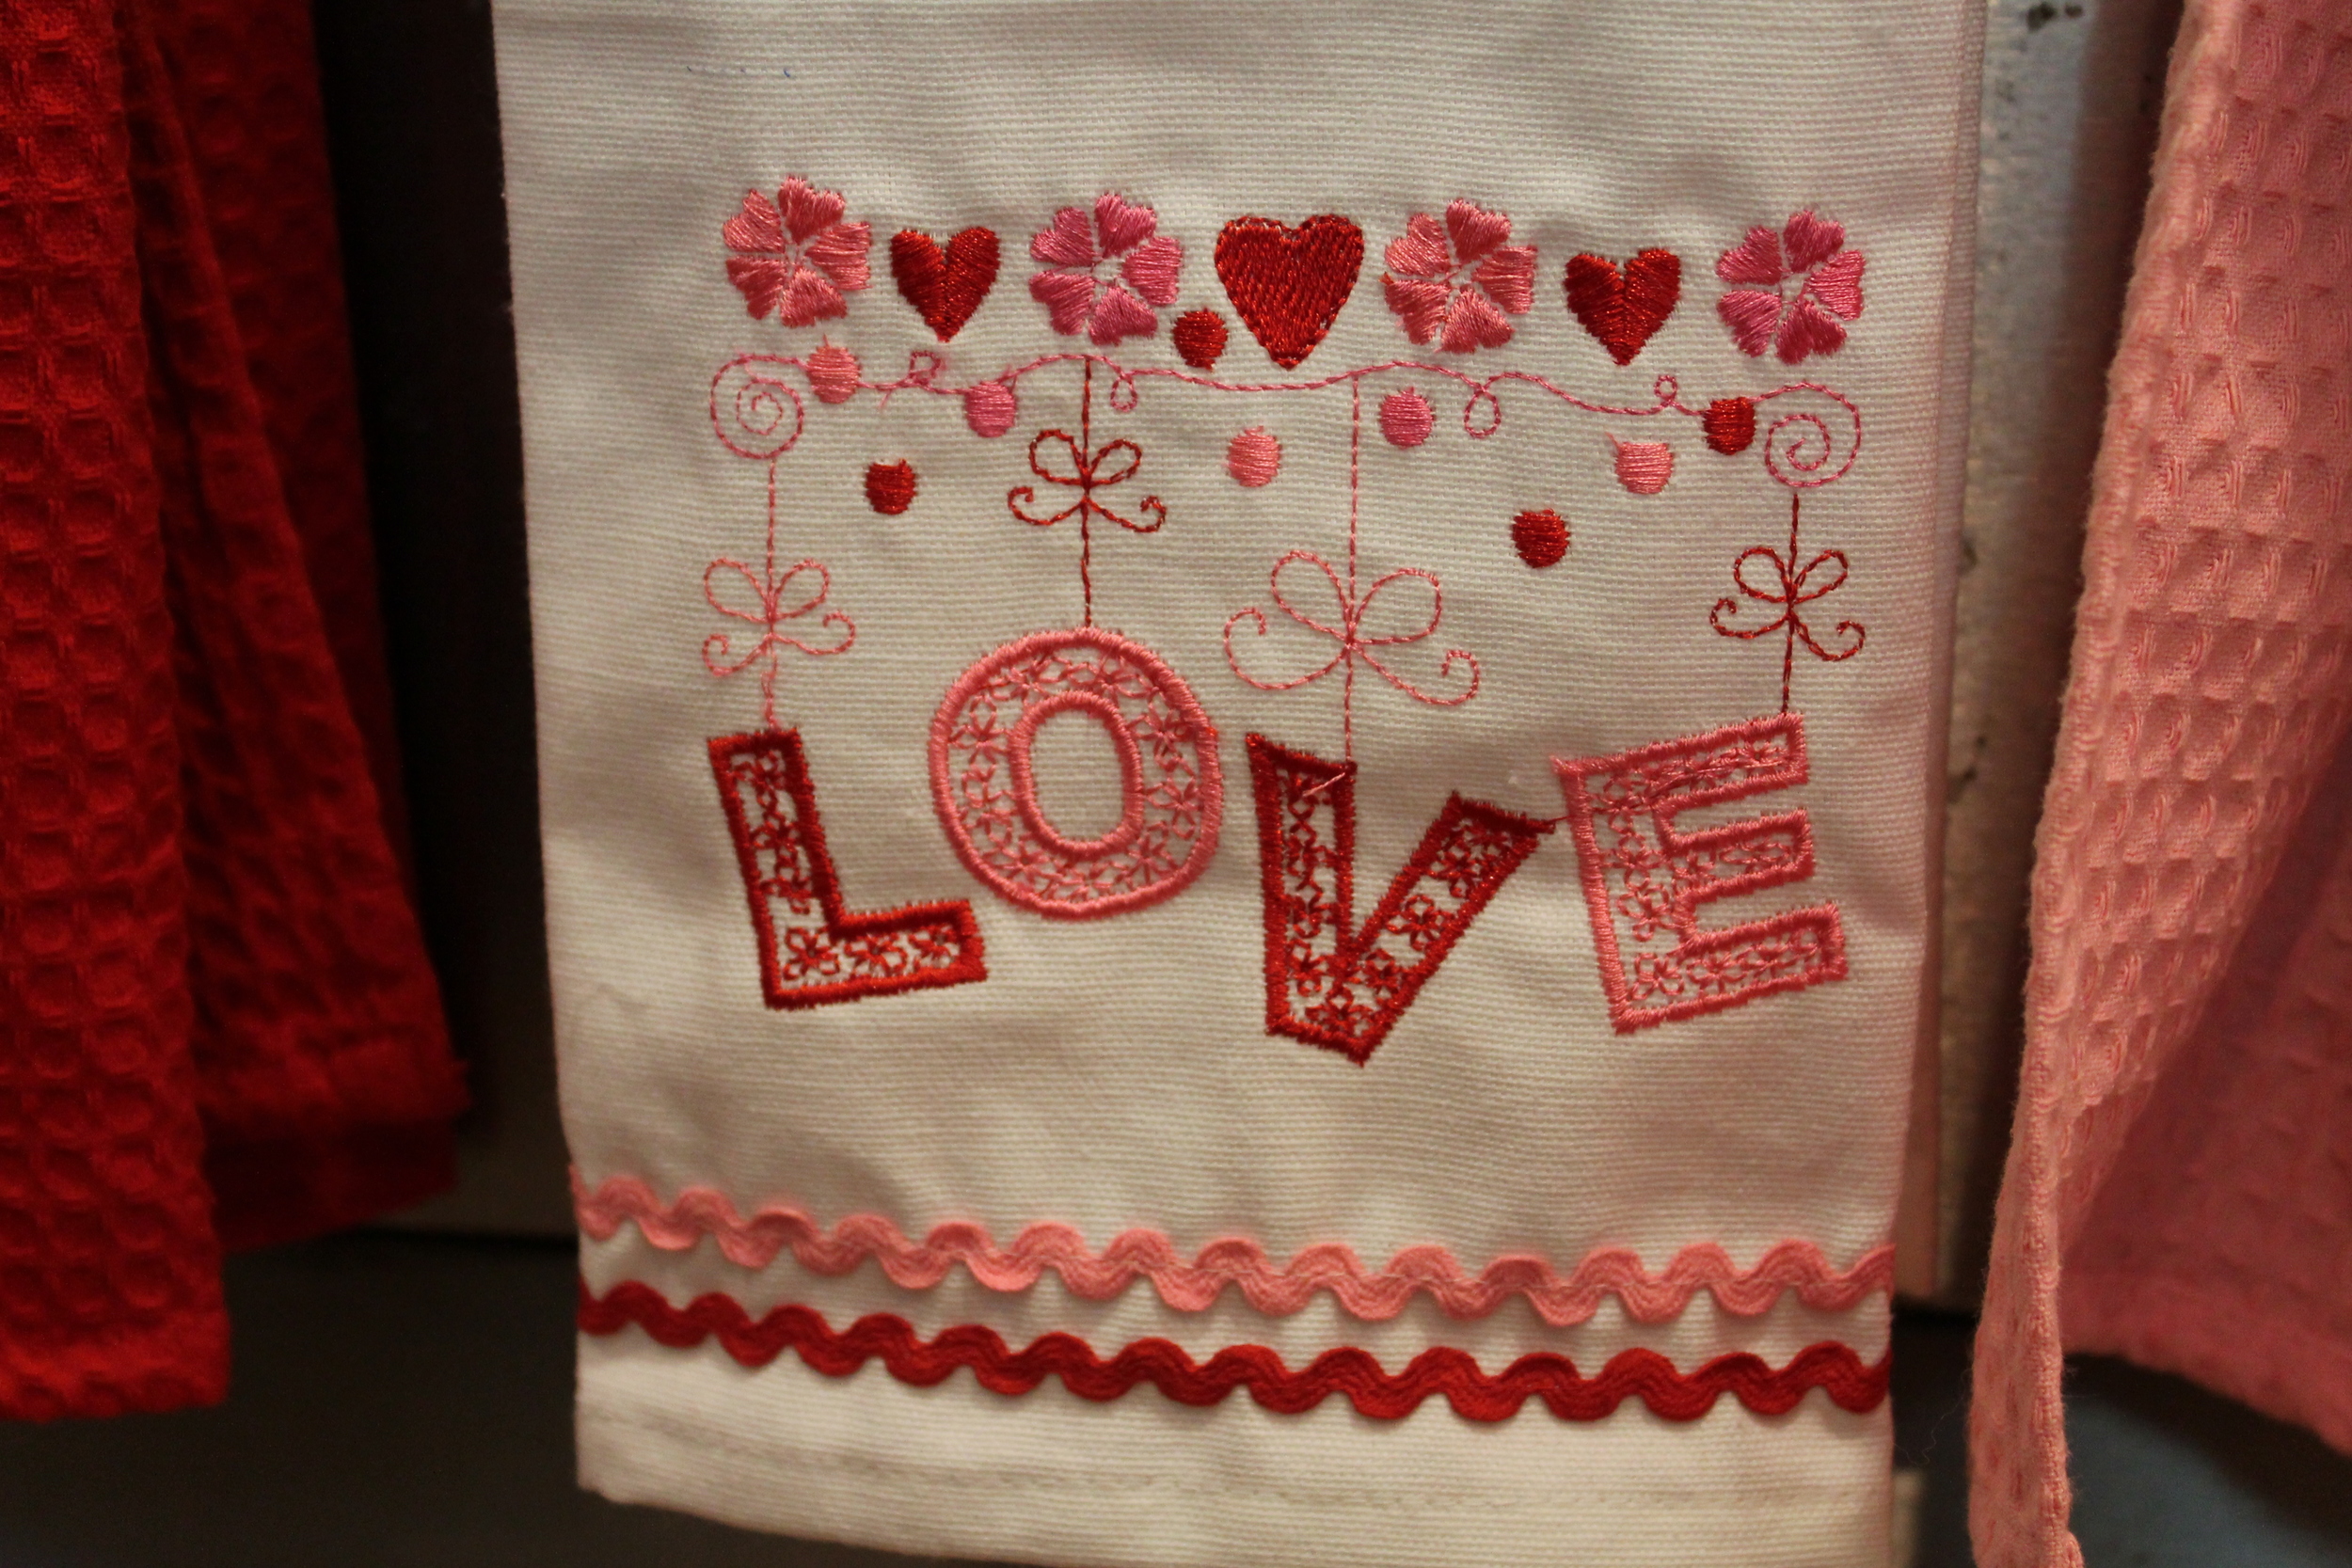
A few cute kitchen towels for the oven and dishwasher.

Some candy in the entry.

That's it! Happy Valentine's Day!

I'll keep you posted...

Lynn

I'll keep you posted...

Lynn

Armoire to Bar

Our bar used to consist of a narrow, bottom kitchen cabinet. That meant if you wanted a drink, you would have to sit on the floor and pull everything out until you reached what you wanted. Not very convenient. I have a beautiful antique armoire in the dining room that I wasn't really using. It had a few odds and ends stored in it, but that was about it. So I decide it was time to repurpose it to make it the bar. Let me show you what I did.

First, I took everything out of the armoire.

I went to my local restaurant supply store and bought some wine glass holders to mount at the top. They were brass, which is not my favorite, so I spray painted them black. I used paint that was made for metal and I made sure I sprayed the mounting screws as well. I just poked each one into a box so that they would stand up and then I sprayed them. When everything was dry, I hung them in the top of the armoire. Each rack hold 4 glasses and the armoire holds 5 racks on each side. Plenty of storage!

I knew I was going to want some light inside. After looking at my options, I decided a pendant for each side was the way to go. I needed something small, so I ended up getting fixtures that were supposed to hook onto track lighting. I cut off the end that hooked to the track, and wired both fixtures together to one plug. Now they will turn on at the same time. This was easier than I thought it would be.

The left side is where I'm going to store the liquor, but I wanted to be able to see what was in the back. I bought one of those inexpensive plastic pieces meant for the pantry. It has three graduated steps and expands to fit the width of my cabinet. It was white, so I sprayed it black with paint made for plastic.

The right side is going to be the serving side, so it needed a counter. It stands 36" from the floor to make it countertop height. That left a space under it for storage. The drawers are perfect for koozies, napkins, extra glasses and other assorted bar goodies. I also added a mirror to the back to bring in a little more light and reflection from the room.

I'm really pleased with the way this project turned out. When the armoire is closed which is 90% of the time, it just looks like a pretty piece of furniture, but open it up, and it becomes a really nice functional bar. You may not have a big armoire to repurpose, but many different things can be used as a bar. Just look at what you have with an eye for a different function. You too may have the perfect piece for a bar.

I'll keep you posted,

Lynn

armoire to bar

I'll keep you posted...

Lynn

Chalkboard Powder Room

We had some foundation work done on our home. While the foundation is now in good shape, the same cannot be said for some of the sheet rock. We now have an interesting assortment of cracks in various rooms. I haven't been willing to go through the mess and expense to fix most of it, but the powder room was really starting to bother me. It is, after all, the room that guests use. There is a big crack about 3 feet off the floor that runs around the entire room. UGLY. Today I couldn't stand it anymore. Here is what I did:

Can you see the crack? Now picture it going around the whole room.

I had a partial can of chalkboard paint left over from another project. I figured black paint would hide just about anything, so I painted a 5" wide stripe over the crack around the entire room. Then I painted the wall that the door is on. I rehung a few plates and put a container of chalk on the back of the toilet. I think it looks really cute! I can't wait to see what our guests write and draw.

Sorry about the pictures. This powder room is tiny so I had trouble getting a decent shot. Hopefully you can get the idea. This project took a little over an hour and didn't cost me anything because I already had the paint. I'll admit, it's a temporary solution until we really repair the cracks, but I'm happy now!

I'll keep you posted...

Lynn