A Pair of Pears

I was shopping today for a rug for our living room. I went into a discount store that always has great buys, but alas, no rug. This store is one of those stores that always has something that I think I need, so to remove any temptation, I didn't even get a shopping cart. Who was I kidding? After I looked at the rugs, I decided to take a quick walk through the rest of the store, I was in the clearance aisle when I spotted a big glass pear. It was about 18" tall, handmade and beautiful. I suspected that it was going to be considerably more than I wanted to spend, but I was wrong. $8.00. I couldn't believe it! Needless to say, I scooped it right up. I continued down the aisle and couldn't believe my luck. Another pear just like the first one! Now I wasn't sure at this point what I was going to do with one pear, much less two, but at that price I couldn't resist. At the very least, I could give the extra one to someone as a gift. Now that my hands were full, I headed to the register to pay then head home with my new treasures.

I have developed a new fascination with succulents. I love the variety, and the low maintenance, and in Texas in the summer, I appreciate their tolerance for heat. I decided that the pears would look great planted with succulents, so on the way home I stopped at the nursery and bought some. 

Since there is no drainage hole in these pears, I added about an inch of gravel to the bottom to compensate. 

Next came placing the plants. I'm not a very symmetrical person. By that I mean that even though I had two identical glass pears, I didn't want them to look exactly the same, so I mixed the plants. 

Since the pears aren't very deep, I knocked some of the soil off of each plant before I put it into the pear.

The I placed all the plants where I wanted them and added soil. 

Sorry I didn't take more pictures here, but I was really making a mess. My man-sized hands made adding the soil through the smallish hole a challenge, but I finally got all the plants in, then the soil, then I watered them.

By now you night have guessed that I decided to keep them both. They look great on my outdoor dining room table with a candle between them. So for less than $40, I have a unique and beautiful living center piece. Now I know that the plants I put in them will eventually outgrow their space, but I'm not worried about that. When the time comes, I can transplant them or even change my mind entirely and use the pears for something different. For now though, I think they're perfect!

I'll keep you posted...

Lynn

Easter is Coming!!Easter is coming!

I love this time of the year. The days are warmer but the nights are still cool. All the leaves are coming out on the trees and the flowers are popping up everywhere. It's all about resurrection and that means Easter. ​This is the time to start lightening up around the house. Here is what I did this weekend.

The front porch got new pillows and an Easter egg wreath. ​A chick on the breakfast room table, eggs in the cloche in the den, and chocolate bunnies on the kitchen counter are just enough.

The entry gets the Easter tree with hand painted eggs, a silver pedestal candy dish with pastel candy and a sweet bunny. That's it!​

I'll keep you posted...

Lynn

Valentine's Day Pillows

I know it's only one day, but it's a day all about love! I wanted just a few pillows for the porch and breakfast room, but I couldn't find any. So I decided to make some. They're so simple and quick to make, and there is very little sewing involved. If you can sew in a straight line, you can make these. Here's what you'll need: 

  • pillow forms of your choice
  • burlap
  • red felt or pre-cut felt hearts
  • glue gun
  • snaps
  • buttons

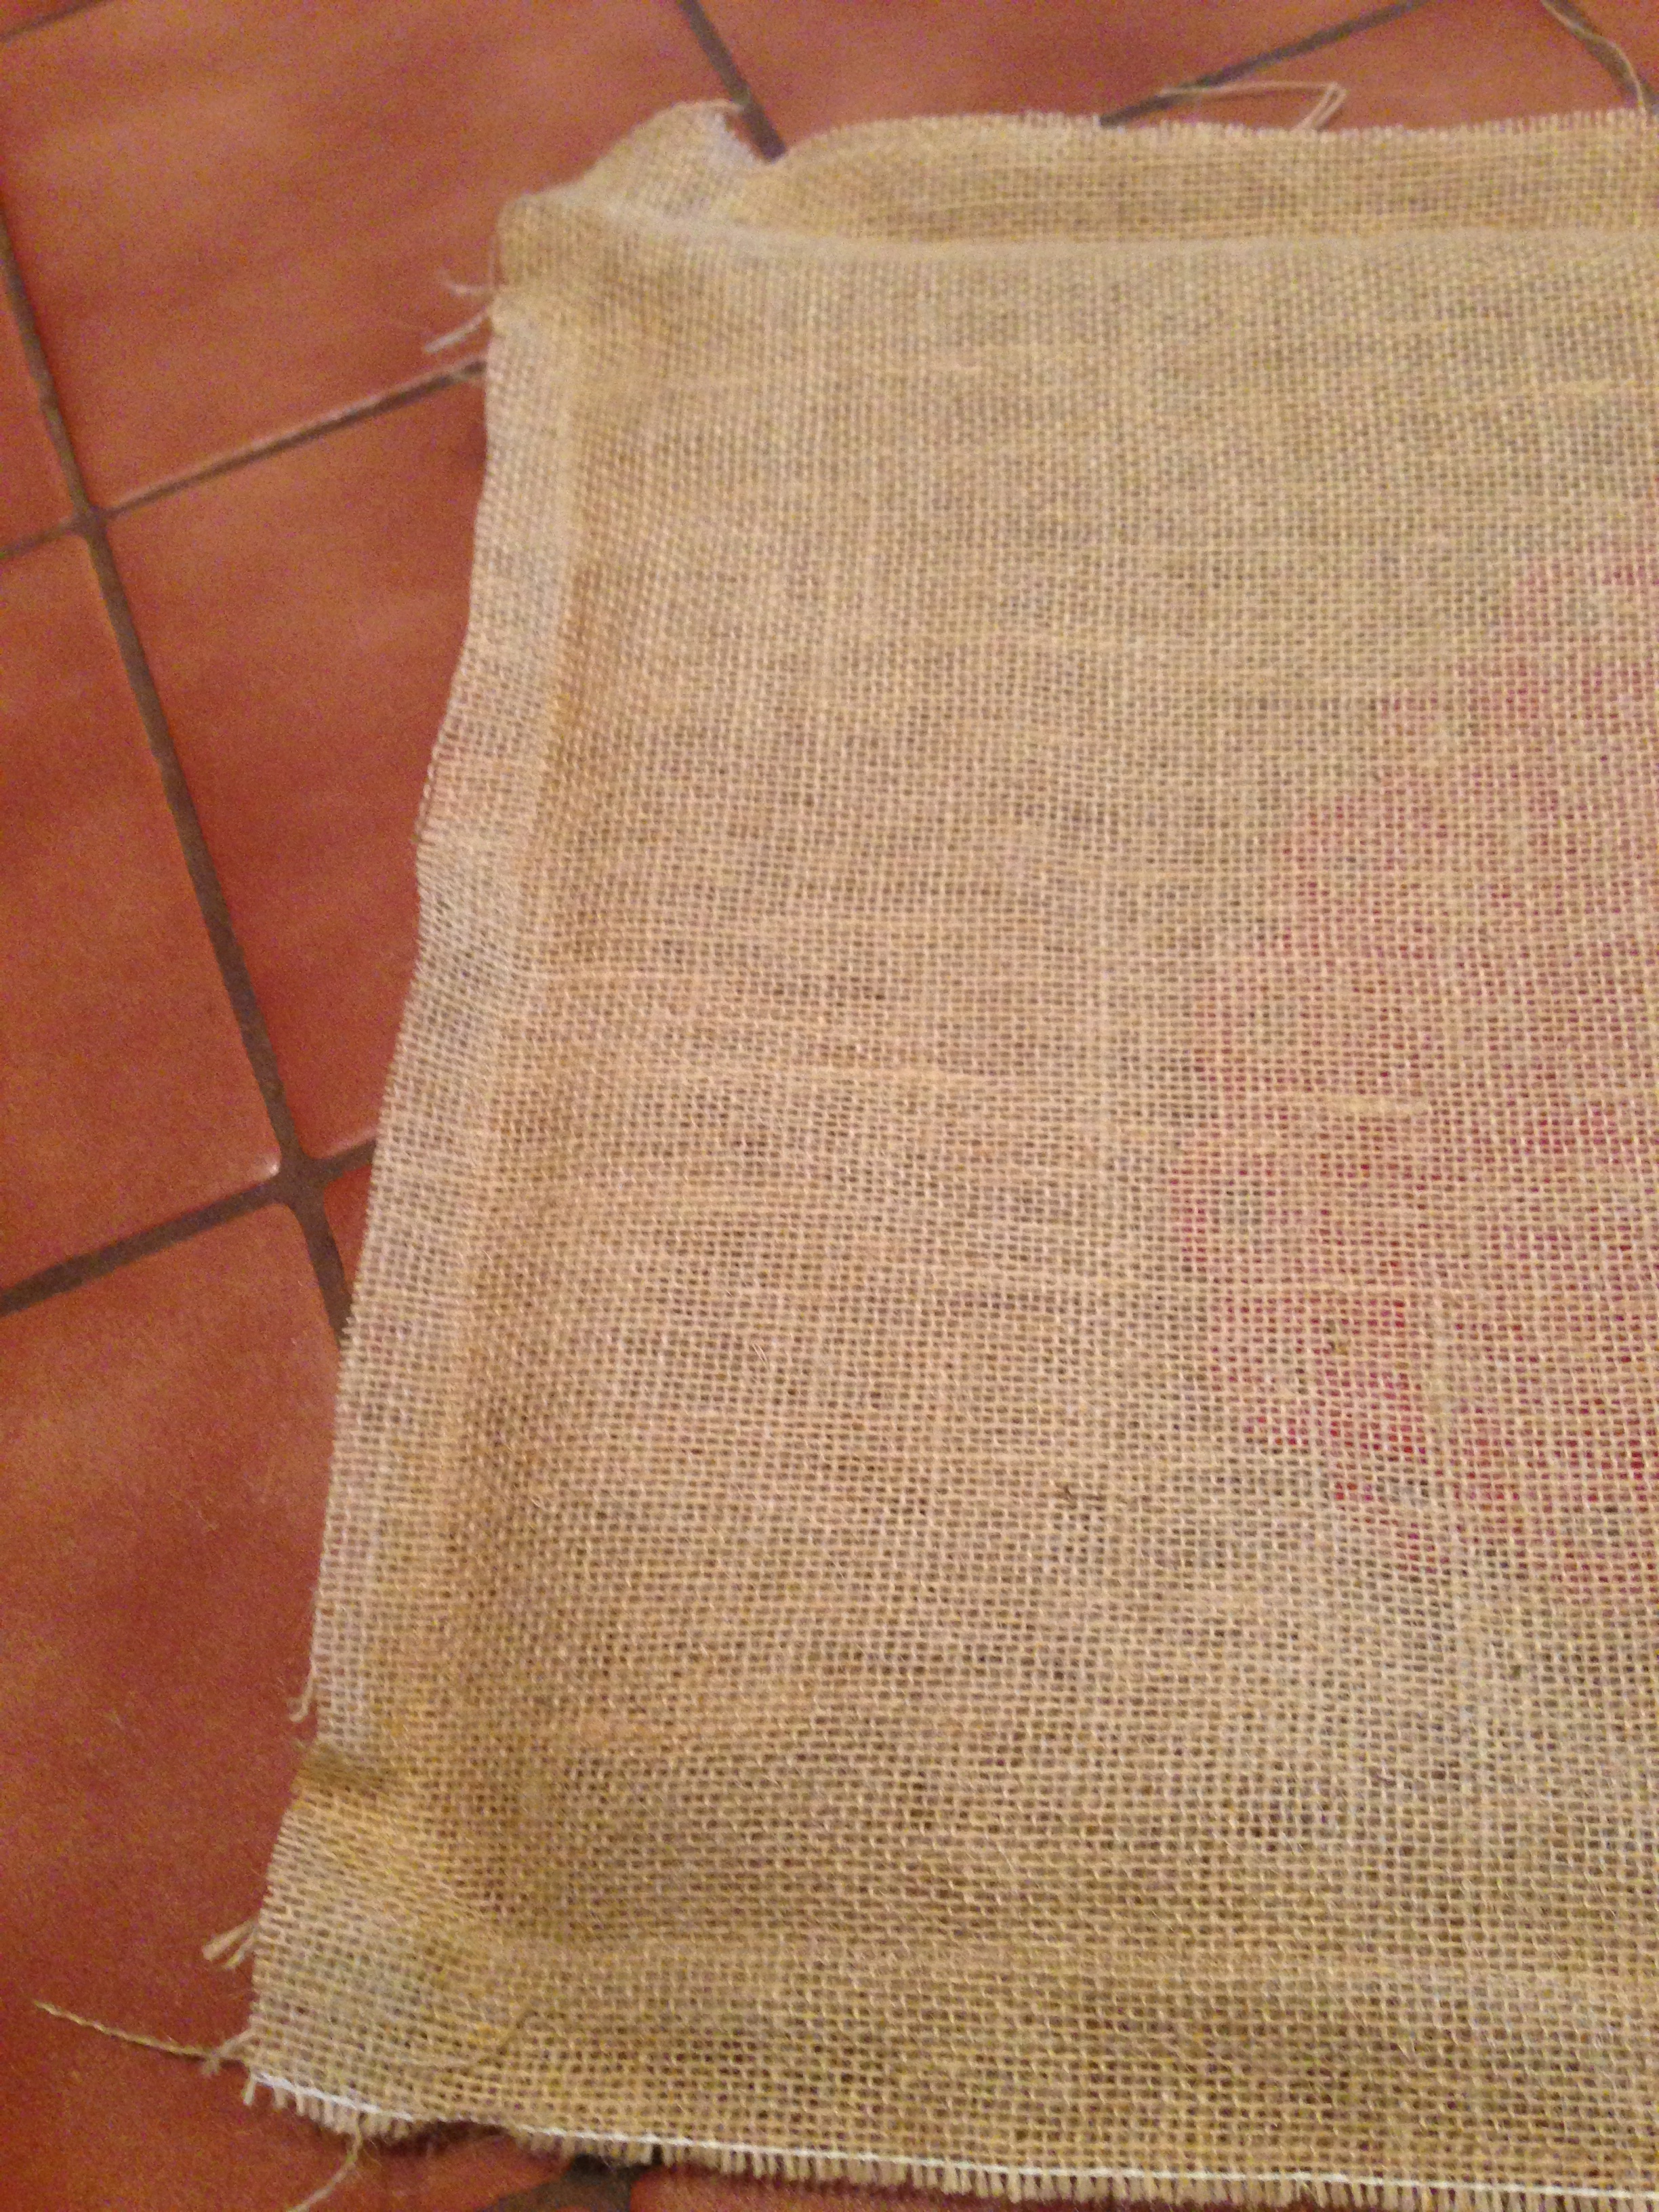
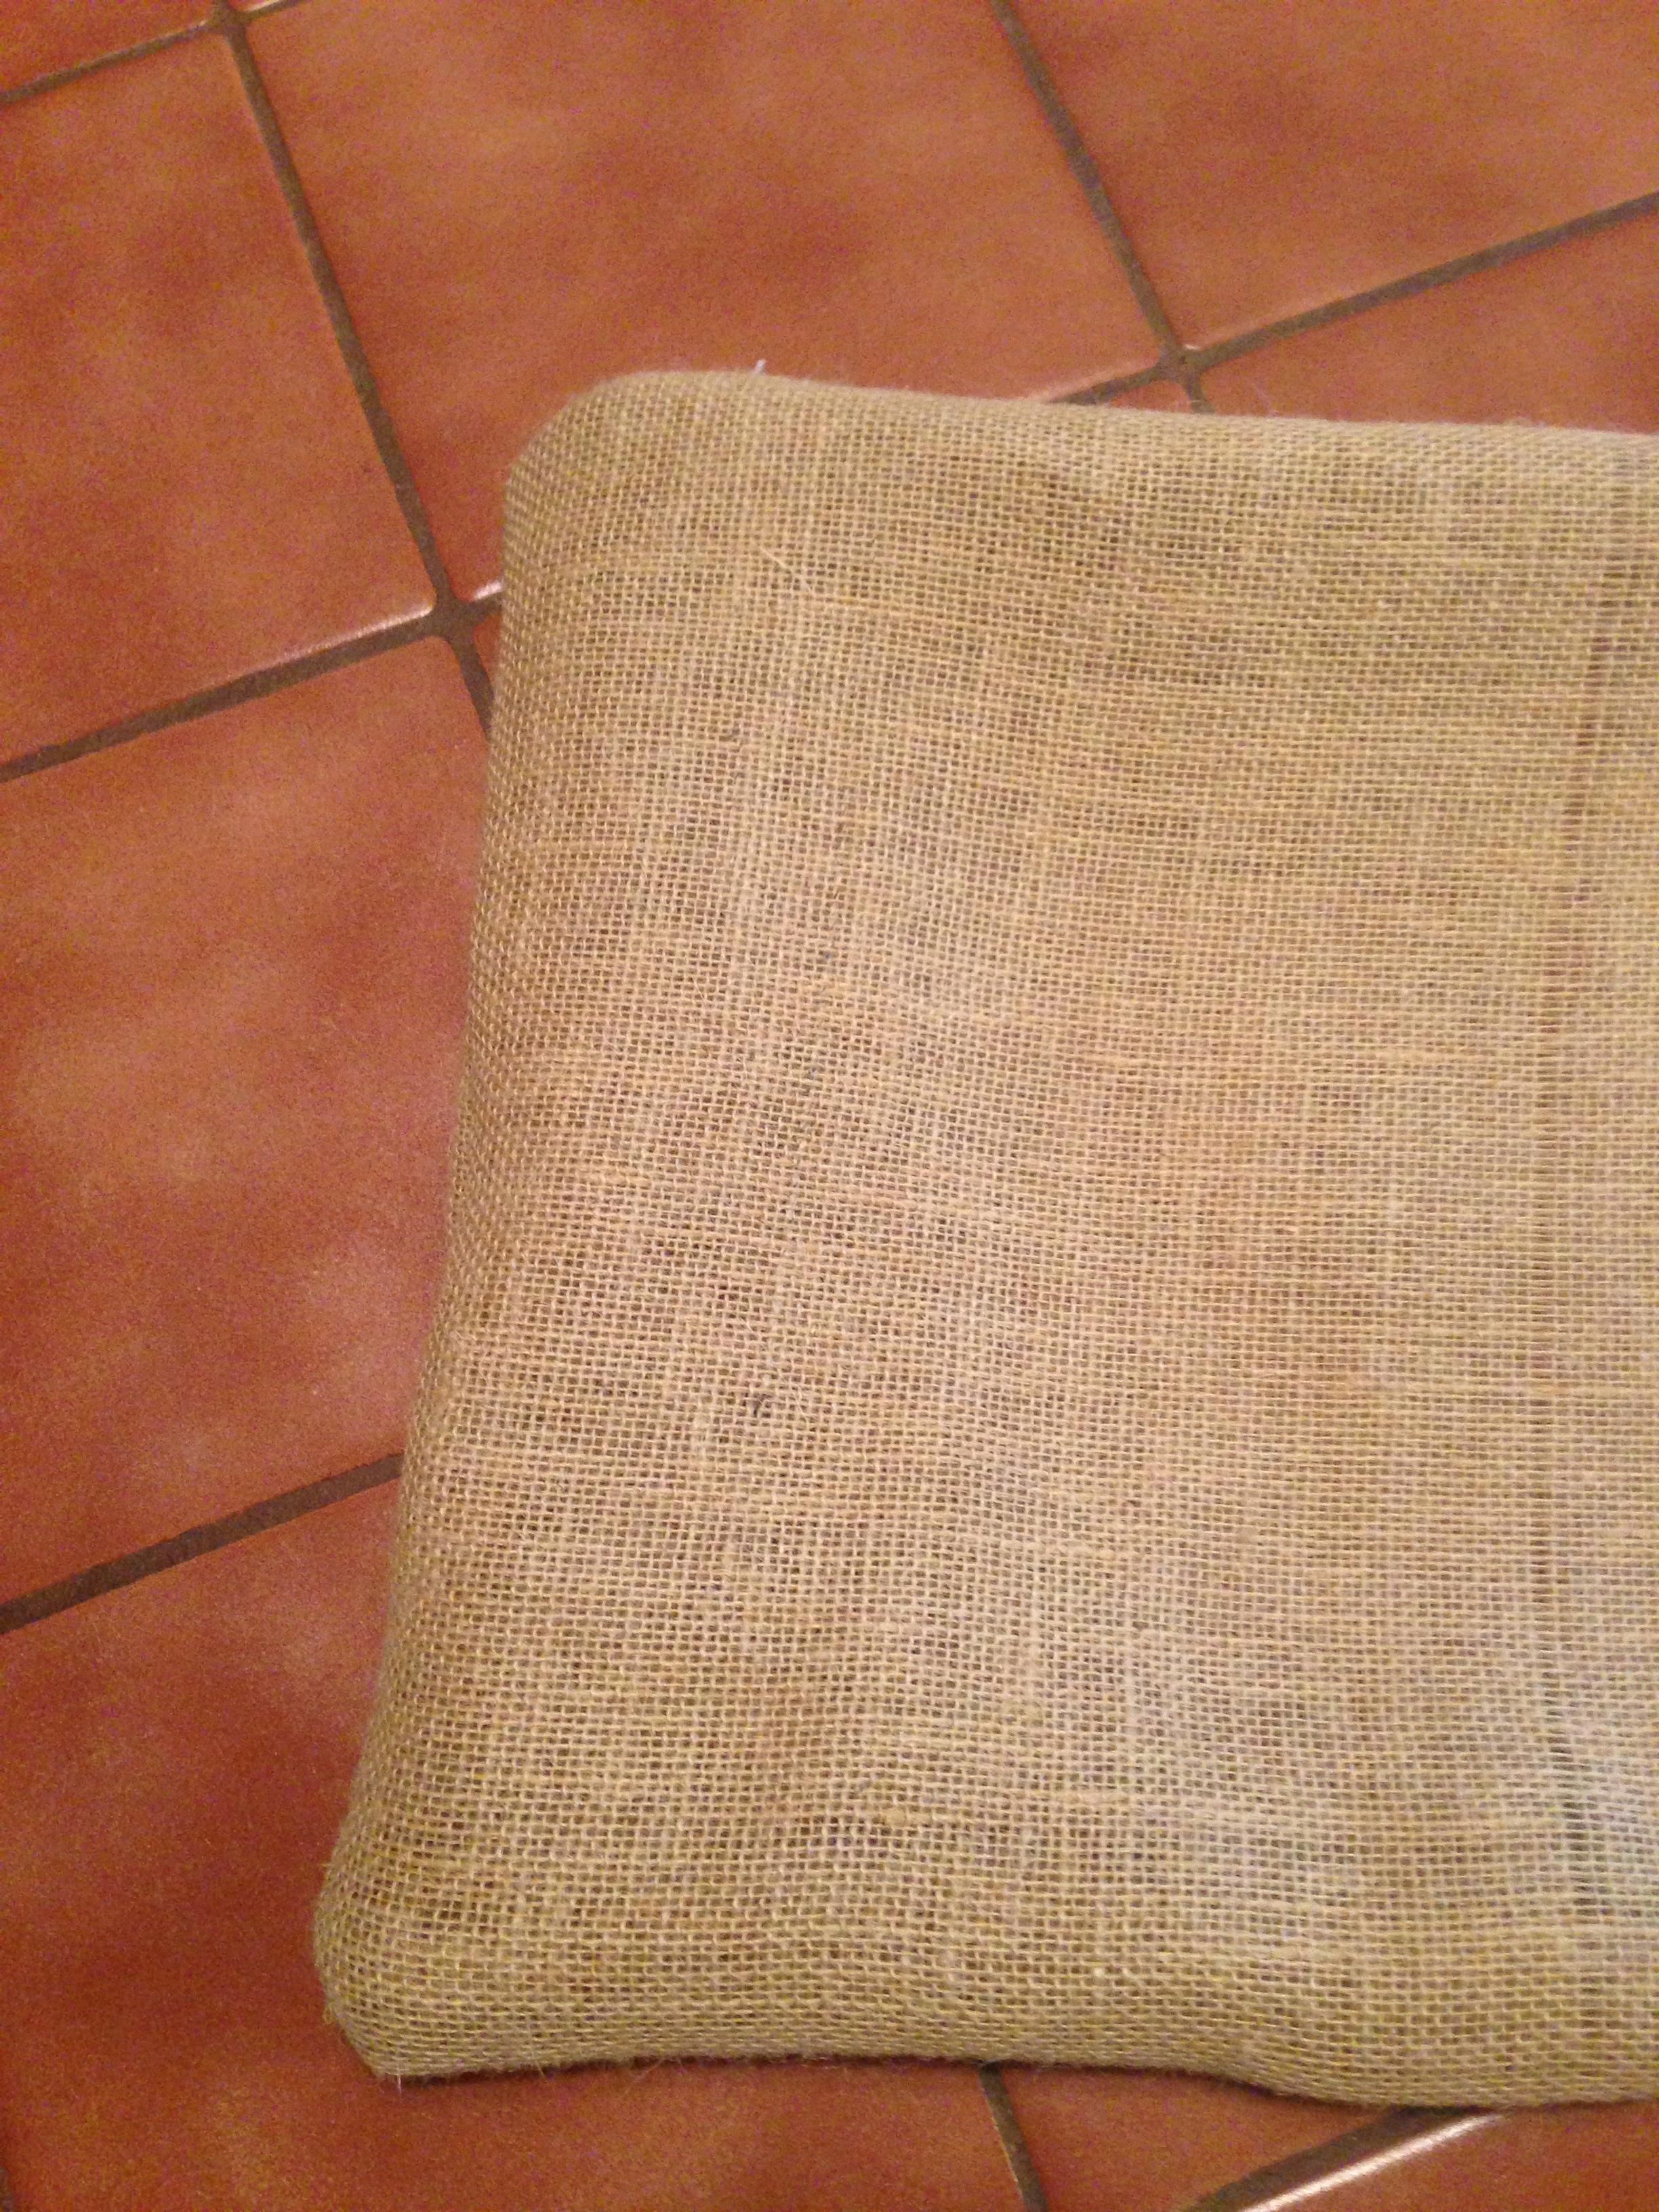
Start by cutting 2 pieces of burlap, 2" wider than your pillow form and 4" longer. Now sew them together on 3 sides, leaving 1 end open. Since I am using burlap, there is no wrong side to the fabric. If you are using a printed fabric, you will sew the 3 sides with the wrong (unprinted) side facing out. You have just made a very basic pillow case. Now turn the pillowcase right side out.

The pillow case you have should be the right size for the pillow form to fit into it with about 3"-4" left open on one end. Now it's up to you to decide how you want to decorate. I centered a big red heart on one of my pillows, and a straight line of little hearts across the center of my other pillow. Since these pillows are only going to be used for a week or so, I chose to glue the hearts on with my glue gun. I would not recommend doing this to a pillow that will get a lot of use. If you do glue it, be sure to put a piece of cardboard between the 2 layers before you start so that you don't glue the 2 sides of the pillow to each other. Also, if you are centering the design, center it from where the pillow will be closed, not from the entire length. 

After you've finished attaching your decoration, insert the pillow form so that you can decide where to put the snaps to keep it closed. Mark the spot for the snap, remove the pillow form, and hand stitch the snaps into place. Now you can hand sew a button on the outside of the pillow to cover the snap. Insert the pillow form again and snap the snap and you're done! 

You might be able to tell that I pulled some of the threads from the end to make a fringe. Super easy to do with burlap and I think it makes it look a little more finished. Go ahead and give it a try. The materials are very inexpensive, and it's a cute way to bring in a little Valentine cheer.

I'll keep you posted...

Lynn