
I love my chickens, but I don't love what they do to my yard. When I first got the girls, I was totally unprepared for how destructive they can be. You see, as much as I love having chickens, I also love having a pretty backyard and I've spent years making it look good. I have a darling coop that Hubby and the kids had made for me for Christmas one year, but it doesn't seem right to keep them confined all the time. After much deliberation, I finally came up with a plan to keep both me and the girls happy. I figured out a way to fence off part of my yard and add gates so that they could be confined to certain areas and still have space to roam. I can decide which area I want them in every day, so they won't be too hard on any one area at a time. I'll show you how I did it.
The first thing I did was drive to a nearby town to buy cedar posts. I knew I wanted a rustic look and rough cedar posts fit the bill. Then I got chicken wire, a staple gun, hinges, and latches. After that it was time to start digging post holes. Chicken wire is surprisingly flimsy, so I decided my posts needed to be no farther that 4' apart. There wasn't any exact measuring on my part because I was working around tree roots and a sprinkler system. It also adds to the rustic charm...


Start by digging a hole that is from 12-18" deep. Remember that the deeper the hole, the sturdier the post will be. Put the post into the hole, then start slowly back filling the hole with the soil you removed, adding water and pushing the soil down with a shovel. You want to really get the soil packed in solidly.The only posts that I used concrete for are the posts that the gate would hang on. On those posts, I used quick set concrete and followed the instructions on the bag. Don't worry about how tall the posts are at this point. They will probably all be a little different depending on how deep you are able to dig your hole. Keep digging and placing posts until you've got them all in the necessary places. Rest for a day or 2 while the posts set.
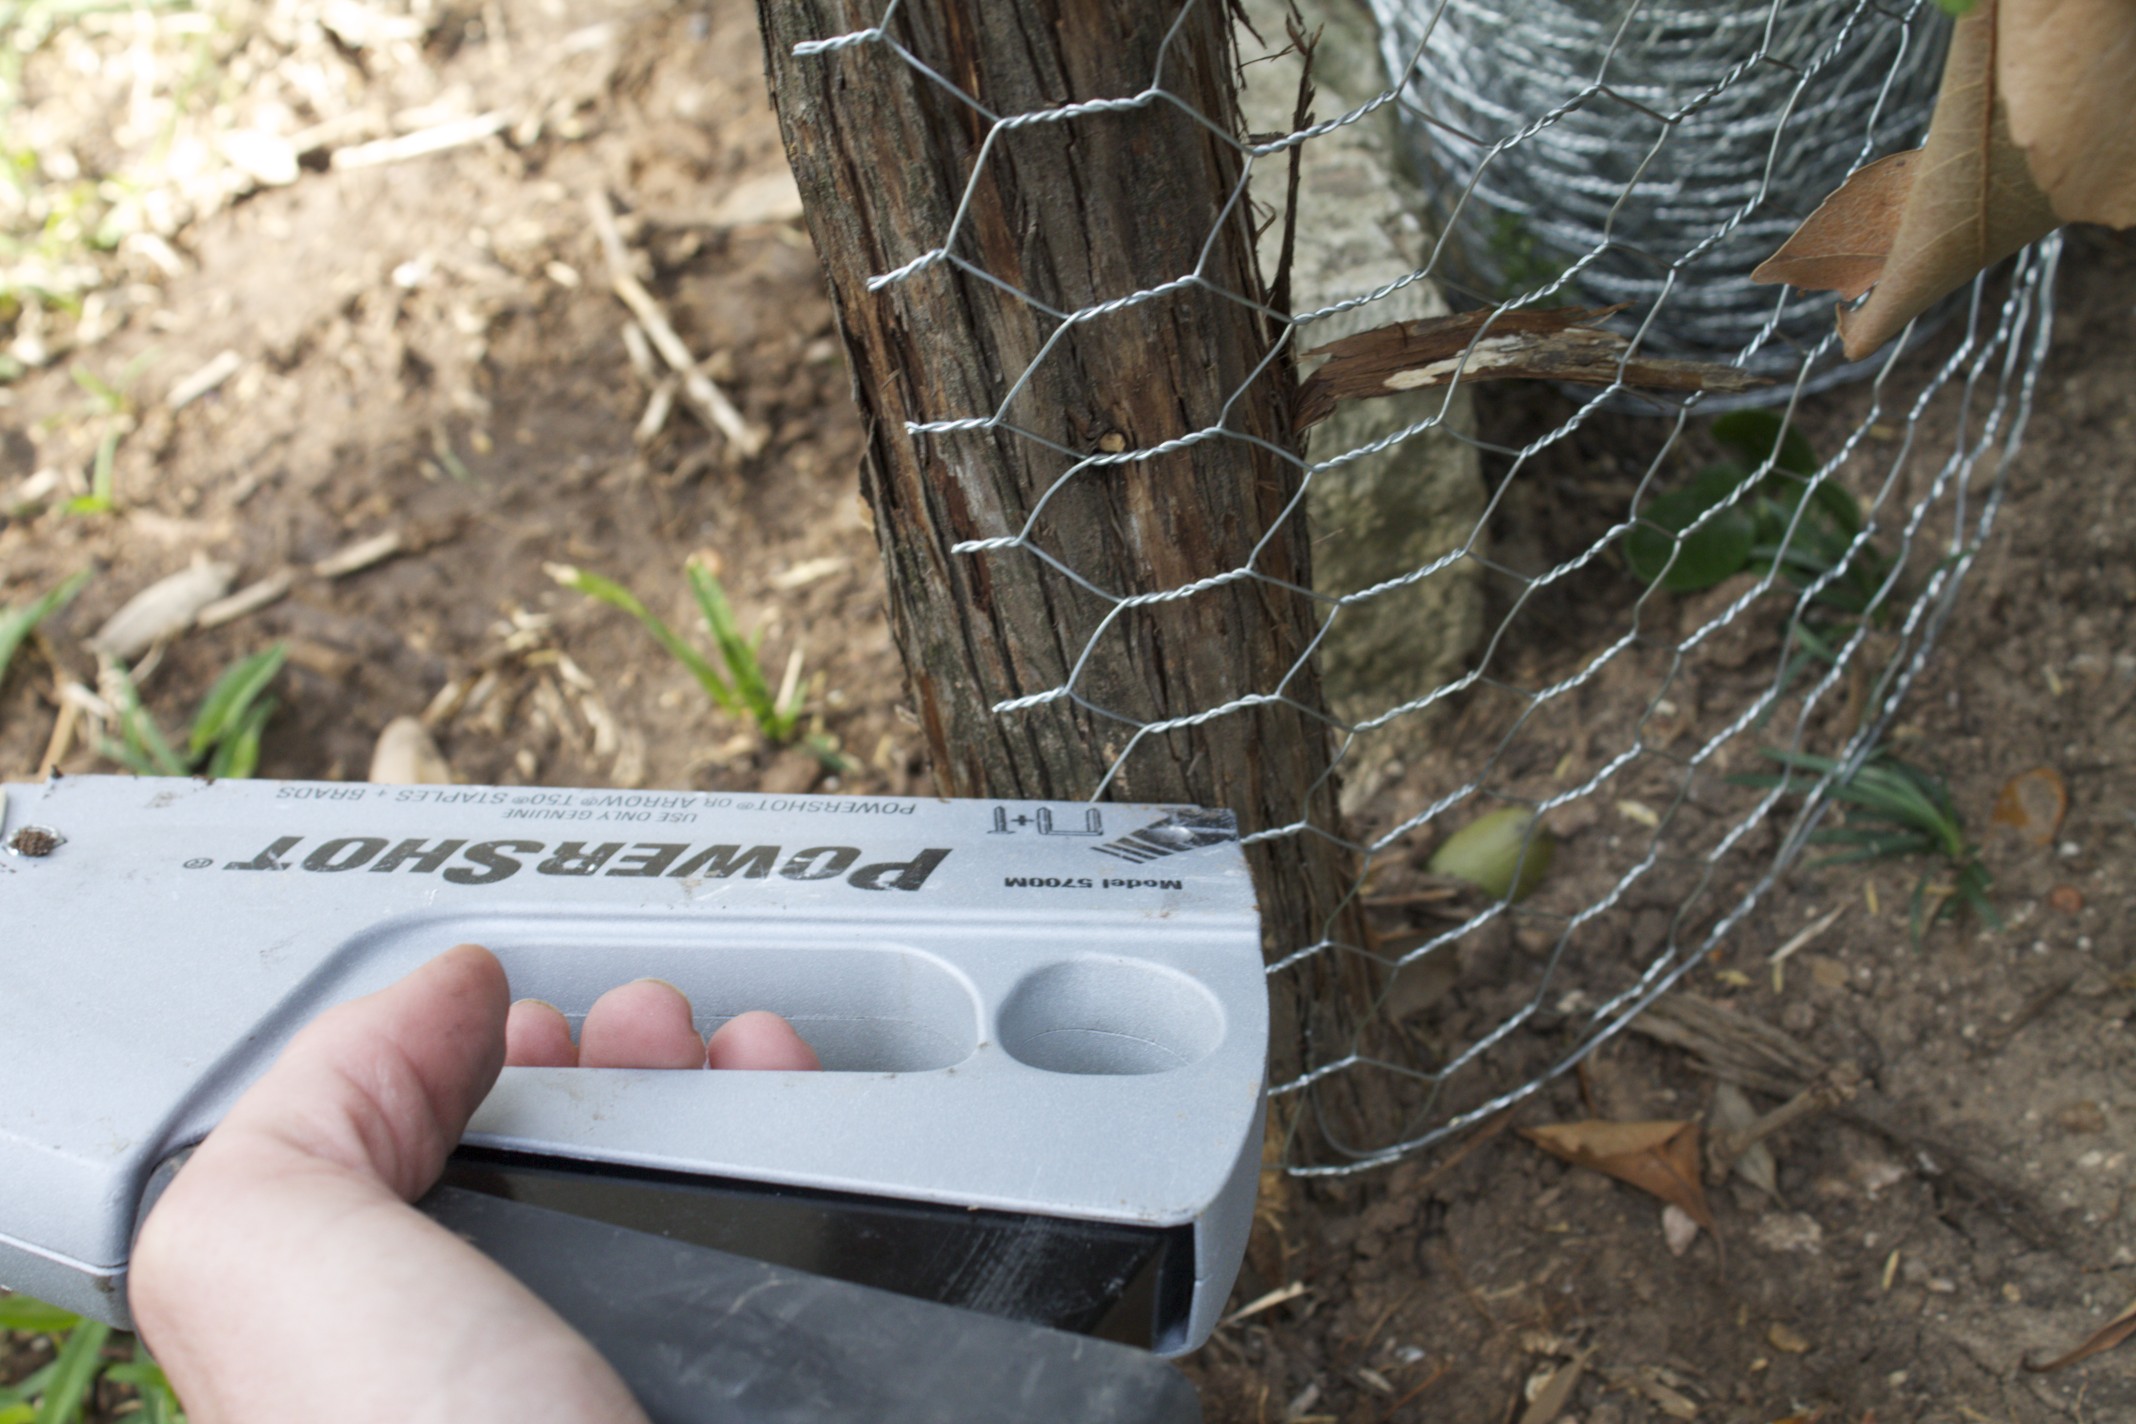
Now that you're rested, It's time to start attaching the chicken wire. I want to begin by saying that if you're a perfectionist, this part will drive you crazy. Chicken wire and perfectionism should never be used together. Now that you know that, it's time to get started. If you have a friend you can get to help you, that would be great. The day I did it, however, I was alone and I still managed to get it done. You'll need a staple gun, wire cutters, and of course the chicken wire. It comes in different heights and I decided to go with 36". Open the wire and staple the edge to the first post. I attached it to the inside of the post wherever I could because I like the way it looks, but one whole section was attached on the outside because the shrubs made it too difficult to do it on the inside. It works either way. After it's stapled, unroll it to the next post and attach it there. Continue until you have the wire attached to each post. Cut the excess off, then fold back the cut ends so you don't cut yourself.


The next step is to trim the posts so that they are all the same height. I used my circular saw and trimmed the posts to about 4" above the top of the chicken wire.
Now it's time to build some gates. I'm going to build 3 and they will all be different because of the space they are filing. One gate is going to actually be 2 small gates that meet in the middle because the opening was too big for a single gate. Simple door hinges and hook and eye latches are all I need.


I'm so happy! Charming, rustic, and practical. Have you ever seen a cuter coop?
I'll keep you posted...
Lynn


